Turnip Cakes: An exercise in humility

Think of this post as my way of sharing with all of you my humanity, because  despite appearances, I am not perfect.  In fact, I too have my weaknesses, namely: how the hell to properly cook lo bak go (turnip cakes).  I didn’t really document this process very well (or at all since I wasn’t initially intending to post this) because  this was only my second attempt at making this old Cantonese standby and I knew there was a possibility of me mucking it up grandly. So, why you might ask, am I writing this?  Well, basically I just wanted to share with you this awesome video that I watched to guide me on my lo bak go making.   The woman on the video is my new cooking hero because she makes it look so easy, she’s no nonsense and she reminds me of relatives in Hong Kong.  It got me thinking that maybe the best way for me to learn and brush up on a different language (Cantonese in this case) is to watch cooking videos in that language. I found this video through another cooking blog called Apron’s Delight whose turnip cake recipe I used in conjunction with another recipe from cookbook author Grace Young.

Basically, lo bak go are like potato pancakes but instead of potatoes you use grated daikon radish  and you throw in a bunch of savory ingredients like Chinese sausage, dried shrimp and shitake mushrooms.  The tricky part – at least for me – is binding that all together with the right proportion of rice flour, cornstarch and liquid and steaming the mixture so it sets into a solid mass.

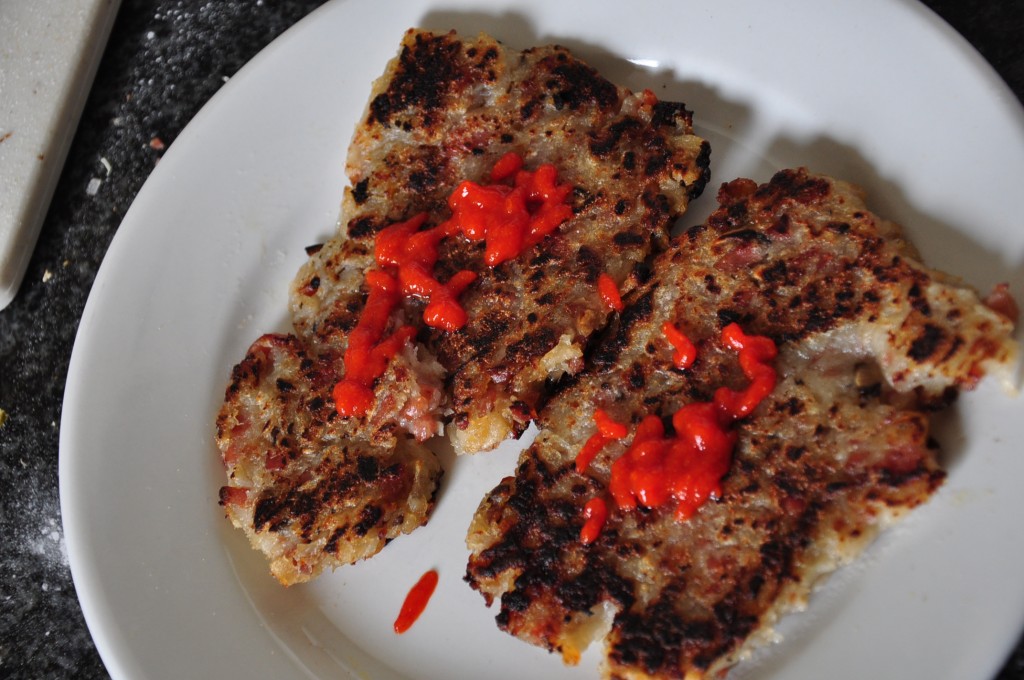
My lo bak go ended up tasting pretty good – really, how can something with a bunch of sausage in it taste bad? And while it did set (as opposed to the first time I cooked this) it was a little more dense and pasty.   It didn’t have quite the same light and resilient texture and consistency of the lo bak go I’m used to getting when I go to yum cha (literally drinking tea) – also known as dim sum. [Semantic distinction: yum cha is the act of going to eat the small dishes known as dim sum. Just dropping some Cantonese knowledge, folks.]  Take a look at my lo bak go and compare it to the photos in the links above and you’ll see what I’m talking about.

Lo bak go with a healthy does of sriracha. I like them kind of flat and crispy.

There are any number of reason’s why mine didn’t turn as I had hoped.  Perhaps I steamed it for too long (being a little paranoid that it would not set and remain sludge-like as my first lo bak go was, I steamed it for about half an hour longer than recommended).  Maybe I used too much rice flour and or not enough liquid.  It could be that my wok was too small or the lid was not airtight enough to accommodate the casserole dish I used to cook the turnip cake.  I will have to tweak and adjust the next time I cook this – if I ever get a two pound daikon from the CSA.  I guess the moral to the story is not everything you cook will always turn out as great as you hope.  But, if you fry it and smother it in sriricha it’ll probably be pretty good.

[UPDATE]

So, not being able to live with my imperfection, I did a little fiddling last night and I believe I greatly improved the lo bak go.  Basically, I steamed it more.  I transferred it into a more manageable round container and in turn, put that container in a pot whose lid fit snugly on top to trap all the steam.  I steamed it for another hour. I think that did the trick.  The lo bak go reset nicely. The texture is less sludge-like and chalky and more smooth and pudding like.  I think the flour needed to cook longer in an enclosed steamy environment in order to fully meld with the liquid and set.  So, for future reference, don’t use a wok with an ill fitting lid to steam.  Use a proper steamer that closes tightly and locks in that steam.  One step closer to perfection.  Easy.


Share

An’s Bun Thit Nuong (Cha Gio)

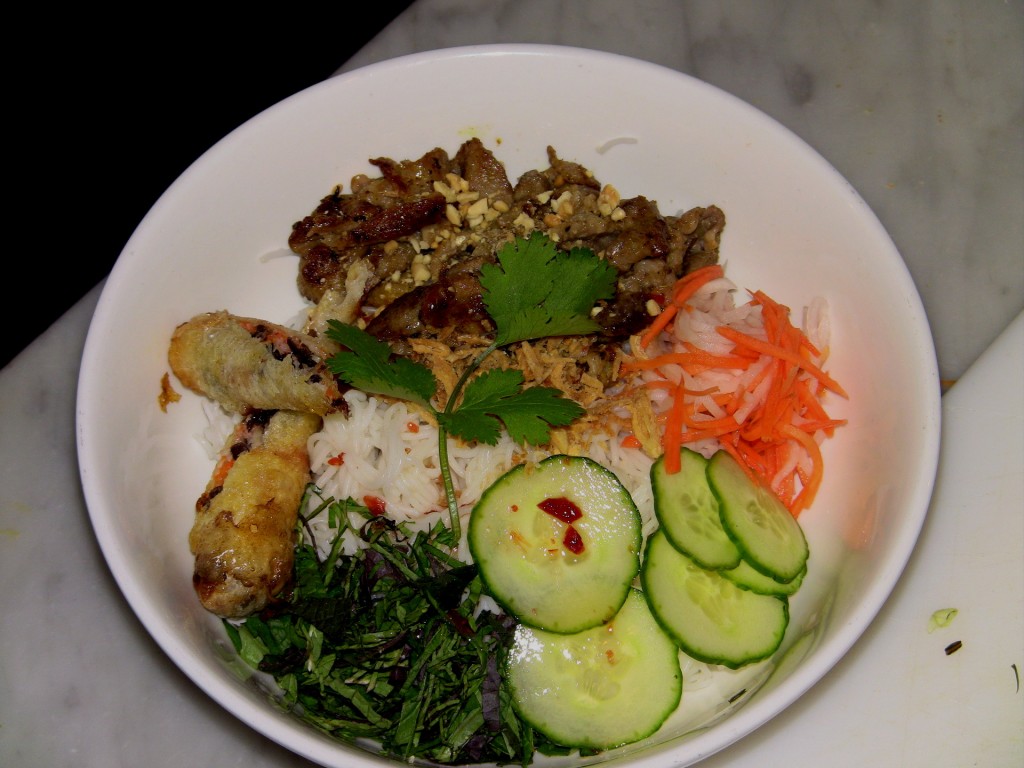
For those of you who aren’t fluent in Vietnamese bun thit nuong cha gio translates to vermicelli rice noodles with grilled pork and fried spring rolls. Okay, I’m going to come clean.  I actually didn’t know the full Vietnamese name for this dish or more precisely, how to pronounce it.  So,  I always referred to it as #6 or #8 on the menu.  But I’ve been a long time fan of this dish ever since I first tasted it at Khanh’s Garden, in San Jose when I was just a kid (a long, long time ago).  As I recall – the memories associated with food often being the sharpest and most vivid – this dish kind of rocked my world with it’s combination of textures, tastes and temperatures. The chewy, room temperature rice noodles serve as the foundation for the salty, charred pork and crispy, hot, deep-fried spring roll.  In addition, you have the accents of pickled carrots and daikon, cool cucumbers and aromatic mint and basi.  And it’s all brought together by the sweet, sour and spicy sauce that’s poured over everything. It’s basically an example of a perfect dish – or bowl. Ever since then, I’ve ordered bun thit nuong when I’ve wanted something comforting and reliably delicious and it’s often my gauge for measuring whether a Vietnamese restaurant is good or not.

So, it was with great pleasure that I visited An Nguyen Xuan at his pop up restaurant in Williamsburg, called Bep where he showed me how easy bun thit nuong is to prepare – provided you have all the main ingredients already prepped.   And once again it was confirmed to me how delicious it is to eat (or in my case, to inhale).  An is married to Janis, who’s a friend of Shefali (a.k.a. my wife) so while we’ve known about Bep for a while, it was only recently that I went to visit because I’m often too lazy to make the trek to Williamsburg (the G train just doesn’t cut it).  Man, laziness blows because after tasting An’s food, I can’t believe I’ve been missing out on tasting his food earlier and more regularly.  He’s a great cook – drawing on his Vietnamese roots, French heritage and experiences in the USA to create his own style of homey and delicious Vietnamese food.   Alright, enough reading.  Watch this video to get a sense of what I’m talking about and maybe you’ll learn how to make bun thit nuong cha gio – or at least know how to order it the next time you’re at Bep!

Bun Thit Nuong Cha Gio: the perfect bowl

Share

Pasties!

First things first: the “pasties” I’m referring to in this post are not the ones you’ll find in a fine gentlemen’s club – well unless that gentlemen’s club happens to be in Michigan’s Upper Peninsula (UP) and serves local food.  You see the pasties (pronounced with a short “a” like “nasty”) I’m talking about are a culinary holdover of the Cornish miners who worked the copper mines of the Upper Peninsula when it was booming industry from the mid 1800s to the early 1900s.

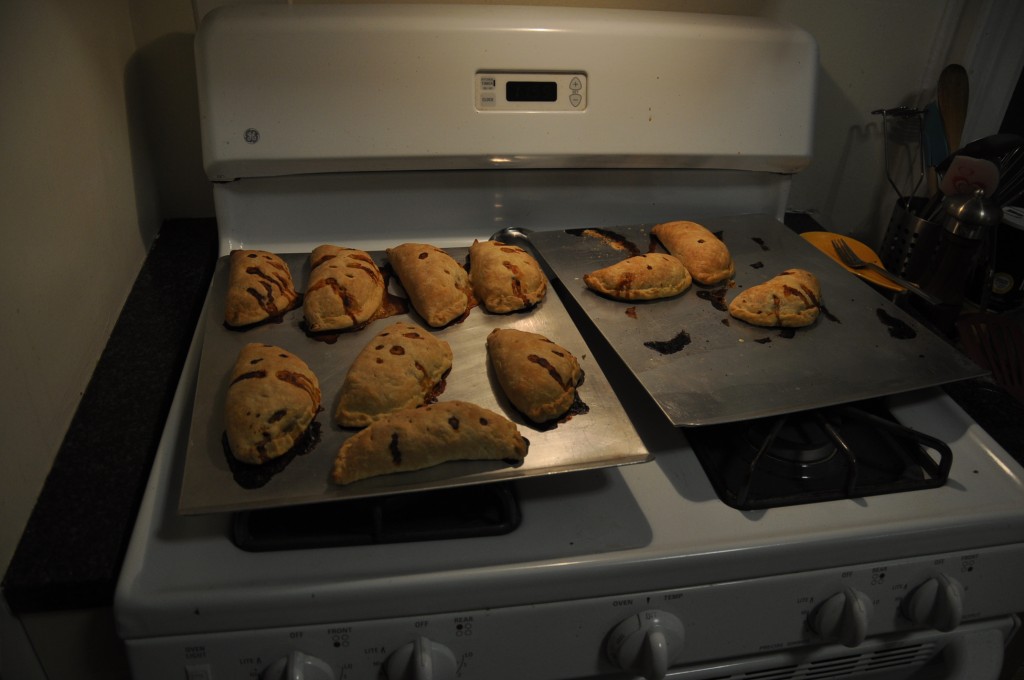
Not so pretty, but pretty damn delicious.

A pasty is basically a meat pie or empanada – crusty dough filled with meat, potatoes, carrots and turnips. I guess the pasty is like the working class Anglo Saxon version of the San Francisco style burrito which hailed from another working class population in California, Mexican farmworkers.  It’s an entire meal that travels well and can be eaten with one hand. But while the burrito has been a smash cross- over success -indeed spawning such food monstrosities like the whole wrap movement – the pasty remains a regional specialty.  It’s really easy to find pasties in the old mining towns of the UP, but as of yet there are no pasty chops or pasty trucks hanging on the corners of major metropolitan areas.  So thank the gods I married a small town girl from Michigan who introduced me to this Yooper culinary gem.  When Shef’s mom visits, she’ll bring frozen pasties for us in her luggage.  Now that is love.  But she can only carry so many and we’ve long since eaten our reserve pasties, so a couple weeks ago because we were feeling the urge and we had the requisite ingredients (or most of them) on hand, in our kitchen I decided to make pasties of our own.  The kitchen stars aligned, as it were. This was the my second time cooking pasties. The first time, I got a little too fancy pants – and way too labor intensive, roasting all the ingredients before hand.  So this time I elected to go the more traditional route and it totally paid off.  I consulted a number of recipes online, soaked them in and then basically did what I’ve described below. There’s a lot of prep work involved in these so give yourself a few hours to make them and make it worth your while by making enough for several meals.

Pasty Recipe (makes about 12)

dough:
Basically it’s a pie dough.
3 cups AP flour
1 tsp salt
1 1/2 sticks of butter
1 tbsp vinegar
1/8- 1/4 cup ice water – or just enough for dough to set

Add salt to flour and mix. Cut butter into the flour (pulsing a food processor works best) until you get a pebbly consistency. Add ice water by tbsp an mix by hand or in mixer. Work until the dough forms and holds but don’t overwork (you don’t want it to get to glutinous and elastic because then it’s harder to work later). Wrap the dough in plastic and let it set in the fridge for an hour or two.

Fillings (quantities are approximate)
1/2 lb of ground beef
1/2 lb of ground pork
2 hot Italian sausages (casings removed)
2 medium (or 1 large) onions – diced or chopped
4-6 carrots -finely diced or chopped
1 large rutabaga or 3 turnips (or any similar root vegetable in the turnip or even radish family. We actually used a daikon radish – thanks to our CSA – and it worked fine) – finely diced or chopped
2 lbs of potatoes (yukon gold) – finely chopped.
salt to taste
pepper to taste

Mix:
This is the easy part. Once everything is prepped and chopped just mix everything in a large bowl and add an ample amount of salt and pepper. These are your only seasonings so you can be generous (but don’t give yourself a heart attack). Mix everything together until the meat forms a paste over all the vegetables.

Making:
Now is the labor intensive part. Take your chilled dough and form small balls about 2- 2 1/2 inches in diameter. Flatten these balls our with a rolling pin taking care to roll them evenly so you end up with a dough circle about 7-8 inches in diameter. Put a good couple big spoonfuls of the filling on one side of the, but sure you leave enough space on the edge free of filling. Take the other side and fold it over so the top edge lines up with the bottom edge. Now use moisten the edges with water and seal them. Then, fold up the joined lip of crust and crimp it with your fingers so you end up with a semi circle with pie crust type seal along the curved side. Poke some holes in the top of the pasty so steam can escape.

Cooking:
Bake the pasty in a preheated 375? oven for about an hour and boom!

Post baking - they were delicious. We froze bunch so we'd have some for later.

Eating:
Use whatever utensils you want and whatever condiments you want (I prefer a mixture of ketchup and sriracha) and commence to put into you mouth and chew.  Savor the blend of meaty and earthy flavors … and swallow.  Now you know.  Pasties taste good and they’re not just for covering nipples.

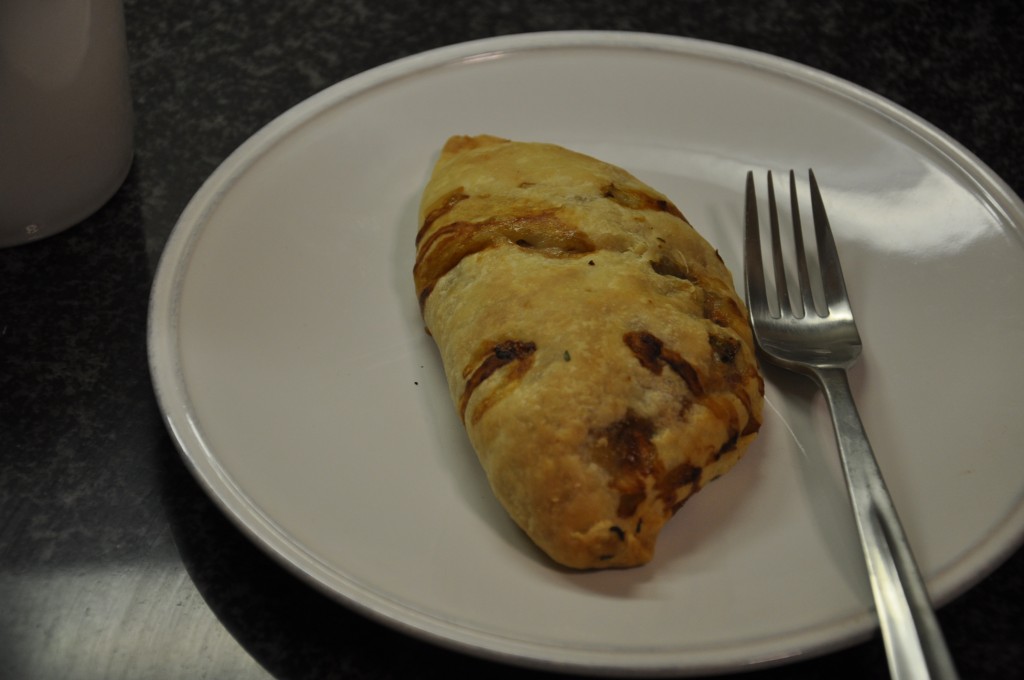
Late night pasty eating. By the time I finished cooking these it was past midnight.

Share