C’s Cole Slaw

Alright, here’s a little bonus video for the four or five people who actually looked at the last pork butt post. As you’ll recall, I served it with a red cabbage cole slaw.  Well, dear reader, here’s the recipe and the instructional video.  Now I must be honest.  This cole slaw  recipe has a couple of key inspirations: 1) the pickled cabbage served on top of Salvadoran pupusas; 2) the cole slaw at  Bake Sale Betty’s in Oakland  that comes on top of their ridiculous fried chicken sandwiches –  and by ridiculous I mean fucking good.  The cole slaw is really simple to make and because of the  freshness of the cabbage and acidity of the dressing it is a nice counterbalance to grilled or fried meats.  It’s also good on tacos and pupusas or anything else you want to eat.  Without further ado, here’s the cole slaw recipe and the video. Enjoy.

Recipe
1 head of cabbage (red of regular)
1 medium to large jalapeño pepper
2-3 tablespoons of olive oil
1-2 tablespoons of vinegar (or to taste)
1/2 teaspoon of sea salt (or to taste)
1/4 teaspoon of black pepper (or to taste)
1/4- 1/2 teaspoon of oregano

Share

I Like Pig Butts and I cannot lie…

… so delicious you can’t deny!
This is the story of how one and a half pork shoulders (butts) became numerous pulled pork sandwiches that were consumed by many people whom upon tasting the tender meat looked towards the heavens and asked the Creator, “Is this, oh All Knowing One, the secret to life?”

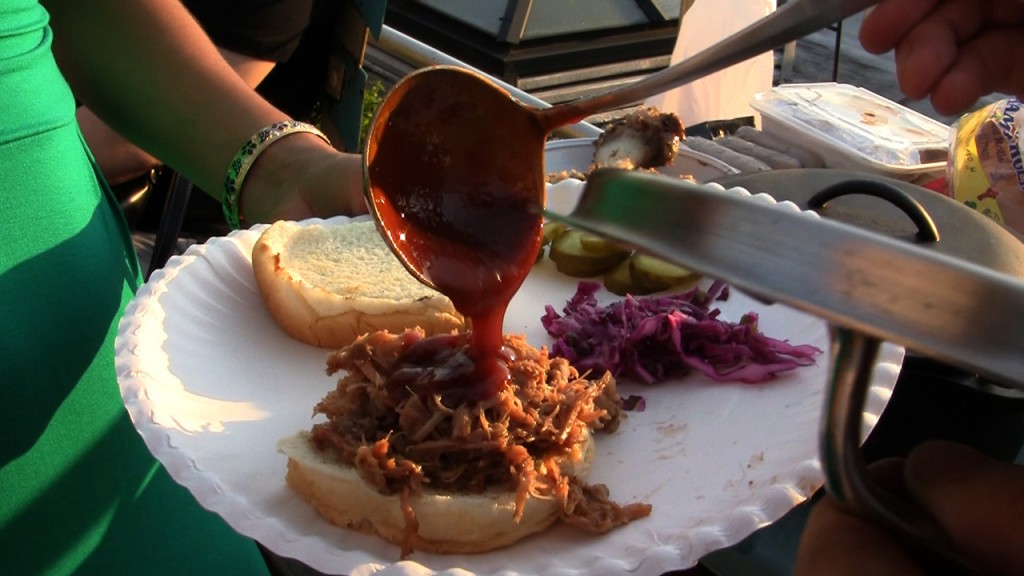
Intrigued?  Well, click on the photo below for the full story and the video of how this transcendent meal came to be.

Tender pulled pork sandwhich with homemade barbecues sauce dill pickles and red cabbage cole slaw.

Share

Pigging Out With Family and Friends

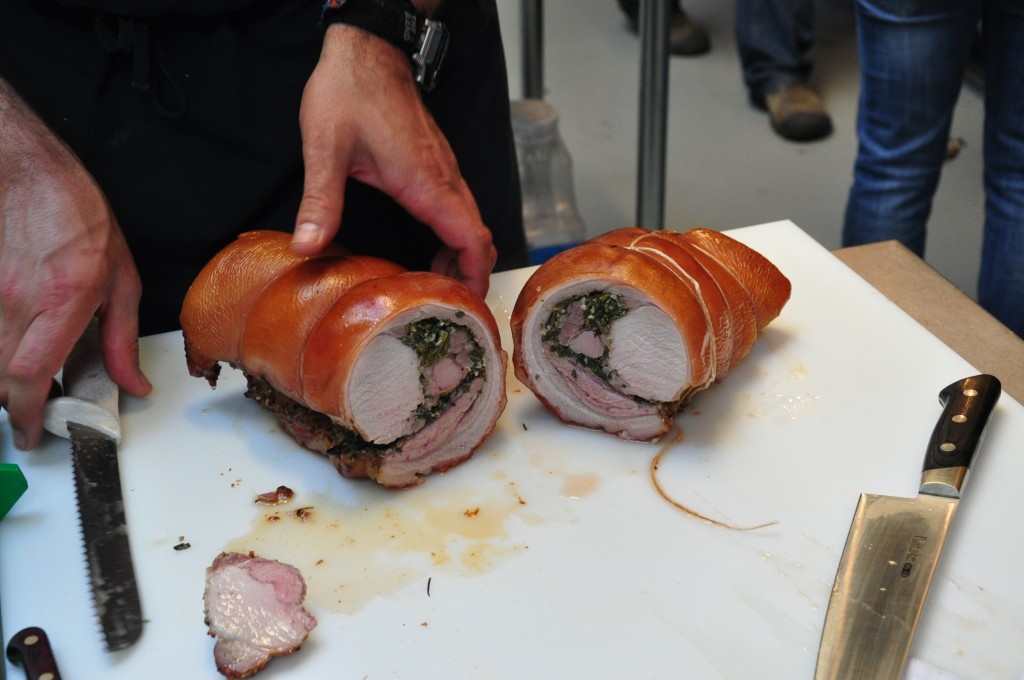
Alright, as promised, here’s the post about what we did after we watched the pig breakdown at Kokkari.  Though this post is a week later than the previous one, in reality the events about which you will soon read and see an amazing video occurred a  few days after our tutorial when the lesson and the excitement was still fresh.  You see, we got our very own little pig to play with!  And by “play with”  I mean, butcher and cook delicious pig dishes out of.  Hmm, that sounds a little messed up doesn’t it? Well anyway, it was fun and judging by the grunts and the way our friends’ eyes rolled back in ecstasy as they feasted on the meal we prepared, it was indeed delicious.  Click on the photo below for the full story.

Porchetta!

Share

Pig Breakdown!

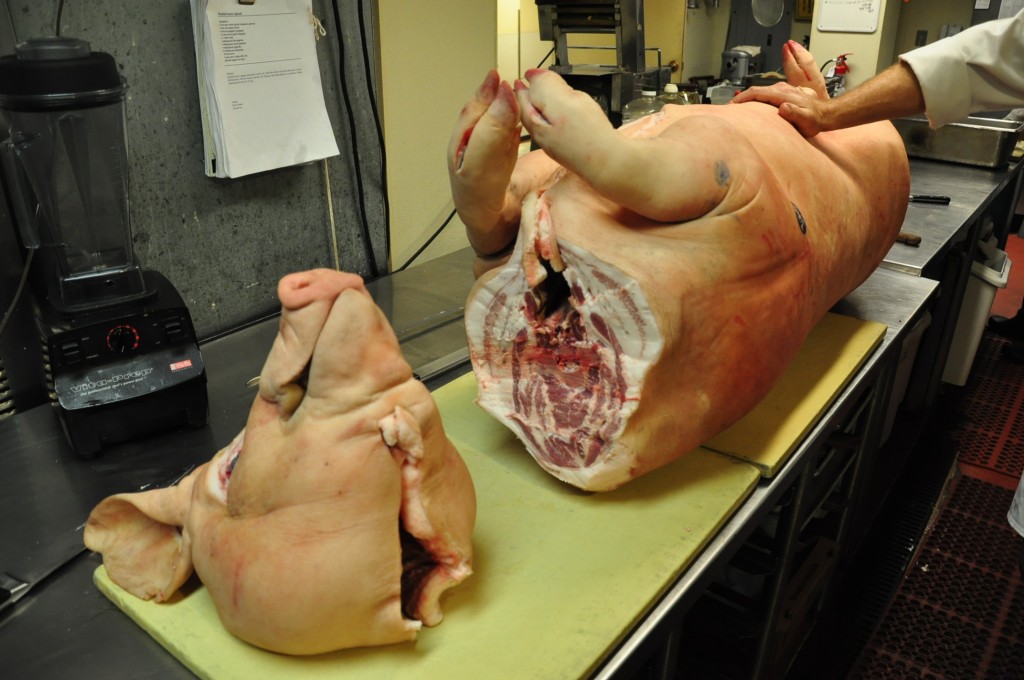
Alright, so a couple weeks ago I was back in the Bay Area for yet another food inspired visit.  And as usual, I ate myself silly.  But as it turns out, I didn’t just get food for my belly.  I also got some food for my brain.   More specifically, me, Matt and Minh got schooled on how to break down a whole pig from the chefs at Kokkari, an awesome Greek restaurant in SF.  It was a real treat to watch professionals in action and see where the different cuts we all see in grocery stores come from on the actual animal. And it was a lesson we would put to good use a few days later.  But that’s for another post.  For now, click on the picture below for the full story and video.

This little piggy went to the kitchen...

Share

Sourdough pizza…dough

Remember Matt’s sourdough starter baby?  Well two years later, it’s still alive and kicking (figuratively speaking).  I’ve made numerous  bread loaves – some successful, others, to be honest, terrible.  But it’s been a learning experience throughout and it’s been great to pass on the starter to friends and see what they’ve done with it.  It’s like watching my friends raise their kids.  For example, PK has become and ace waffle maker, adding corn meal to the recipe which adds a whole new dimension of flavor and texture to the already sumptuous and rich sourdough waffles.

And my friend Niels has from the get go baked beautiful and tasty loaves and was the first person I knew to do a sourdough rye which he brought to our last dumpling party but which was unfortunately  consumed before I had a chance to take a photo.  It was delicious though. And he’s also the one who advised and reminded me that to bake  a good loaf, you have to get the starter going again so it’s really active and really productive.  So recently, if I make bread, or waffles or pizzza dough, I make sure – per Niels reminder – to take the starter out of the fridge in the morning, stir it up and get it bubbling again, feed it once or maybe two times over the course of a day (maybe pouring off some of the excess  (I know wasteful, but if you’re not making waffles or pizza dough what are you going to do with so much starter).  So by the time I’m ready to make the dough some time in the evening, it’s super bubbly and has that really fermented sour smell.  The last few times I made bread this is what I did and it made a noticeable difference.  I also made a really good sour dough pizza dough.  Here’s the rough recipe:

1 cup of starter
3 cups of bread baking flour
about 3/4 cup – 1 cup of water (you can add a little more or use less depending on how wet you want the dough)
1 1/2 tsp of fine sea salt
1 1/2 tsp of sugar

Mix all the contents until you have a nice dough and like the no knead bread, you let this dough mixture proof for about 18 hours until it gets really bubbly and rises until it’s about twice its original volume. Then you can punch it down and roll it into you pizza crust and let the crusts proof for about fifteen minutes to half an hour – per Saveur Magazine‘s recommendation – so they’ve risen again too. Then put your toppings on and bake in your preheated to 500 degree oven. Hopefully you have a pizza stone. The dough should be crusty, chewy and tangy. And the pizza should be delicious. If not, you failed.
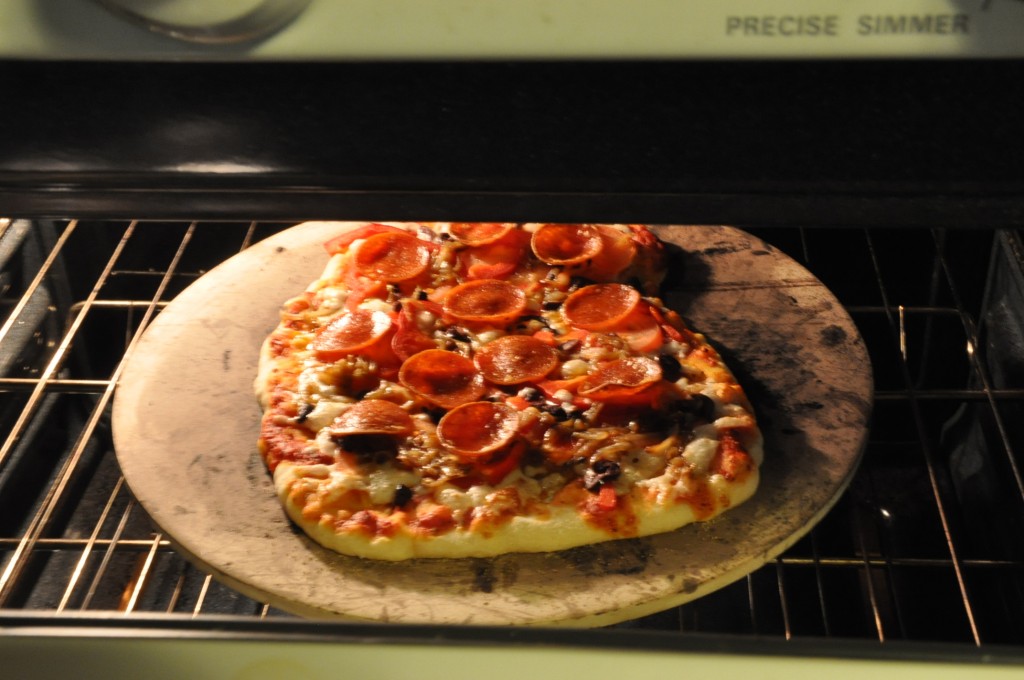
Here's my pizza baking in the oven
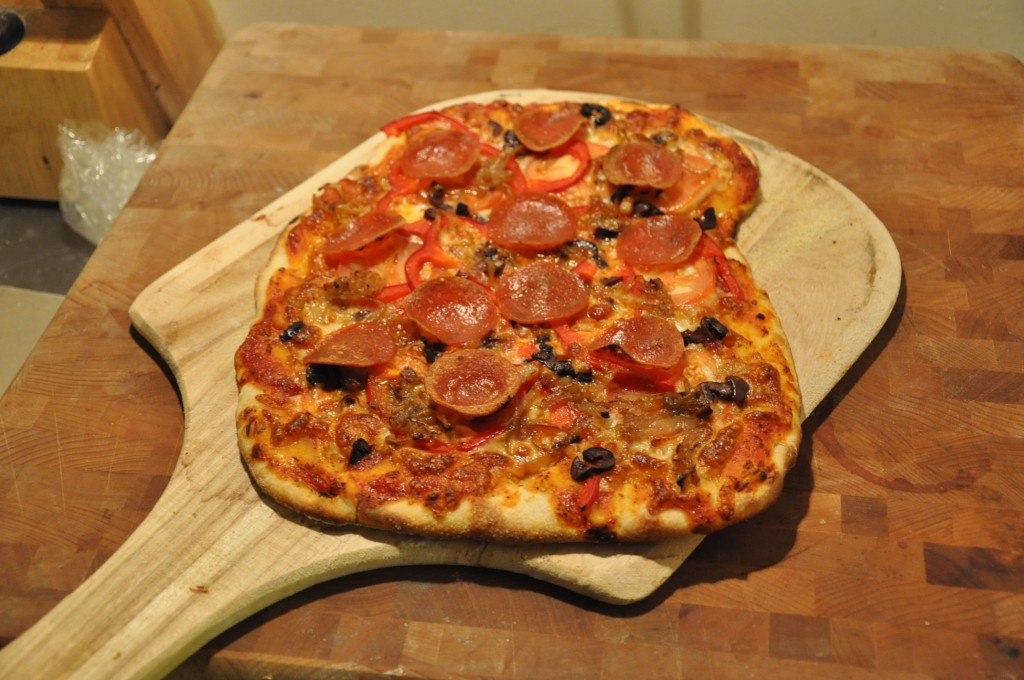
The finished pizza (toppings: pepperoni, olives, mushrooms, bell peppers, cheeze, sauce)

Share