I like projects. I like bread. I like bread projects. Case in point: baguettes. While the consumption of the venerated French style baguette couldn’t be easier – simply tear off a chunk, take it plain, slather it with butter or cheese, or dip it in some saucy sauce and then deposit in your mouth for mastication – the making of a good baguette is a bit more challenging. But I like a good challenge so, a couple days ago I attempted to make baguettes following the recipe and instructions of Chad Robertson’s Tartine Bread book, a book for which I’ve developed rather deep emotional feelings. I would say love would be an appropriate definition of those feelings.
Since my first attempt at the Tartine country loaf, I’ve made several loaves and while I can’t say I’ve mastered the technique, I have become quite comfortable with it and I’ve gotten a feel for how flour, water, yeast (in the form of the natural leaven) and time interact to produce certain results.
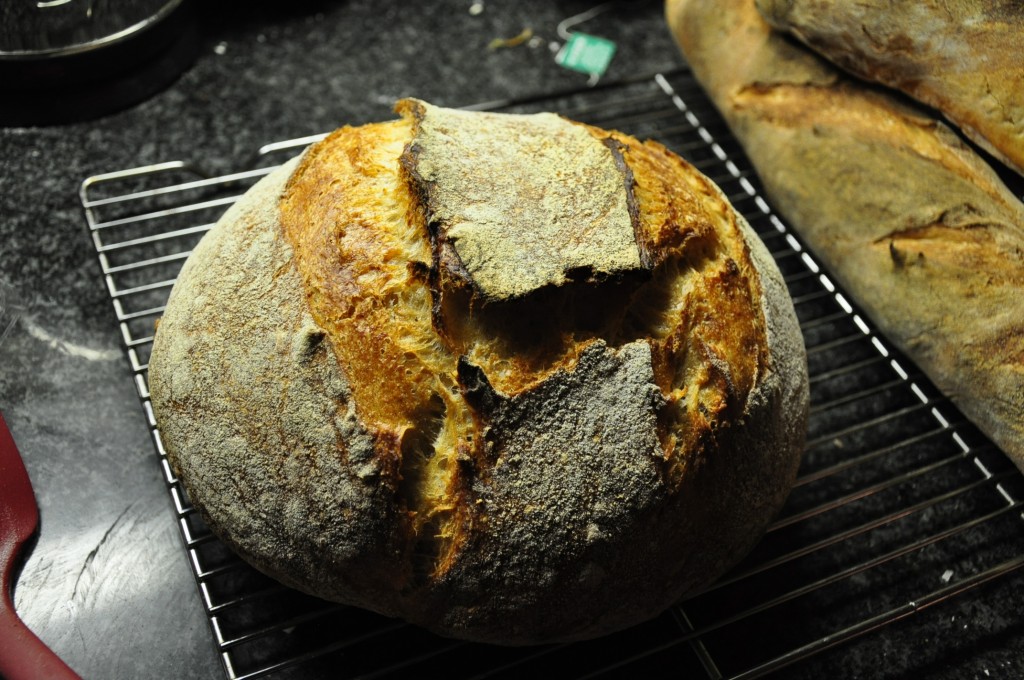
Ah, the good ol' country loaf. It's like sitting in your favorite chair, comfortable and reliable. (spoiler alert: baguettes in the background)
Now here’s where baguettes are different. In addition to using a natural leaven, Robertson’s baguette recipe also calls for the use of commercial yeast in the form of a poolish (basically a leaven made with packaged active dry yeast instead of natural sourdough starter). I know that the whole point of instant yeast is to be active and spark that fermentation process , but my God, the dial on on this yeast went up to eleven (that’s a Spinal Tap allusion, for all you non-nerds). As per Tartine instructions I made the poolish (1.5 gram of active drive yeast + 1oo grams of flour + 100 grams of water) the night before I planned on making the baguette dough. But within an hour of mixing the poolish, it was already rising over the walls of the bowl. To slow it down a bit, I stirred out the air bubbles and I put the poolish in the refrigerator overnight which seemed to do the trick. But that yeasty hyperactivity reasserted itself when I made up the dough. It was like dealing with a hyperactive kid who’s eaten a breakfast of Honey Smacks in Coca-cola. The baguette dough rose like crazy through the initial fermentation and during the second rise, after shaping it into three separate baguettes, it continued to bubble with activity. So instead of the neat, svelte baguettes which I was hoping for, I ended up with rather bloated baguettes like Italian loaves you find in the grocery store. Nevertheless, they were texturally really good with a nice crust and a chewy and airy interior.
I won’t go into great detail as far as method goes, because as I’ve said before, the Tartine Bread book does a better job of describing it and you should get your hands on a copy. But here is a basic recipe rundown:
Dough (for about 3 medium sized baguettes):
200 grams of natural leaven (2 tsp of starter + 100 g flour + 100 g of water, mixed the night before)
200 grams of poolish (mixed the night before)
250 grams of water
325 grams of all purpose flour
175 grams of bread flour
16 grams of salt
Following the basic country loaf process, I mixed the dough and let it go through a five hour bulk fermentation folding the dough on itself every half hour for the first two hours (for a total of about 4 turns). After five hours, I split the dough into three sections and gave each an initial shaping. After a half hour rest on the work surface, I folded the three dough sections into elongated baguette shapes and placed them on a floured towel for the second rise of about three hours.
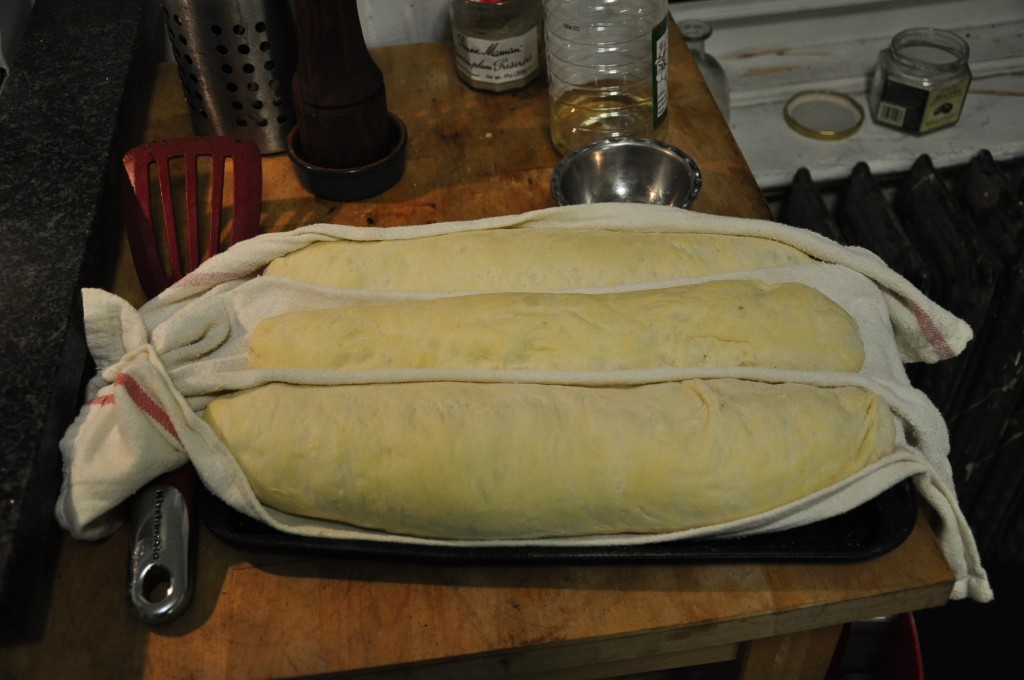
Baguettes in a blanket: after the second rise, my baguettes resembled fat lazy caterpillars.
Now here’s where it gets a little more complicated. Because the baguettes are so long, I couldn’t bake them in the dutch oven so as per Tartine’s instructions I baked them on a pizza stone. During the first 15-20 minutes of baking, it’s important to have a lot of steam and moisture in the oven because it allows for the expansion of the loaves and the formation of a more delicate crust. So again, following Tartine instructions I soaked a kitchen towel in water and put in on a cookie sheet on a rack underneath the pizza stone to produce steam. A brief tip on using this technique: make sure there’s enough water so your towel doesn’t dry out. Let’ just say I didn’t realize towels could burn and get charred so quickly.
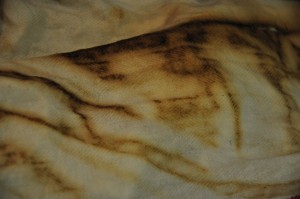
Shroud of Turin?
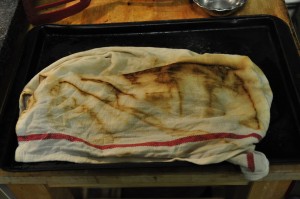
No, just a burned and charred towel.
After about 20 minutes I removed the cookie sheet and kitchen towel and let the baguettes bake for another 12-20 minutes. And this was the result:
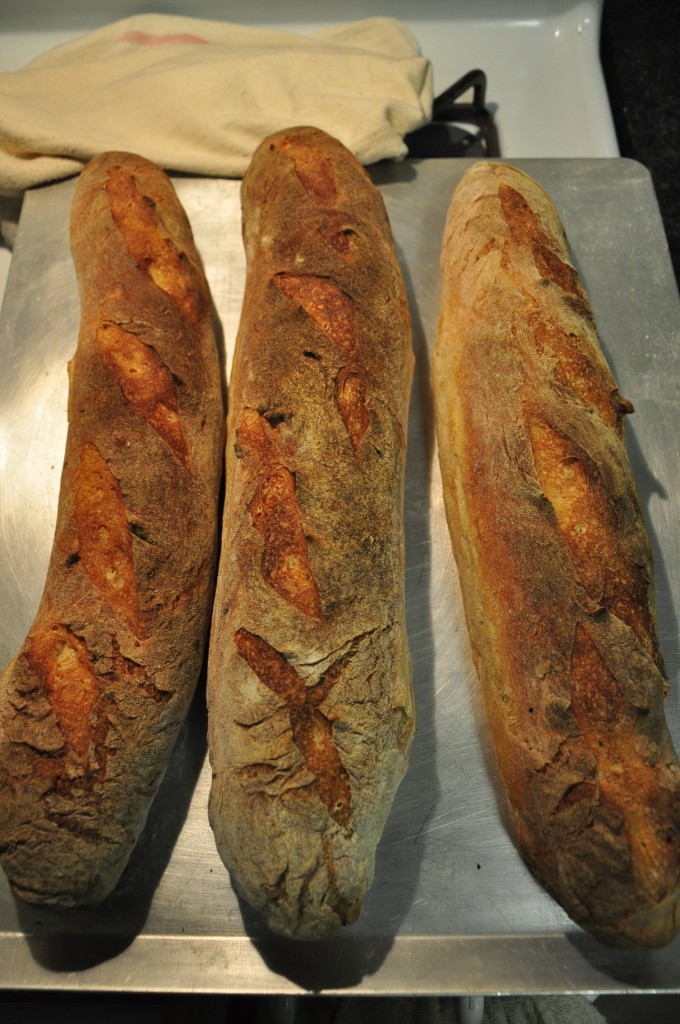
Baguettes afer baking: a little bloated but I'm happy that they weren't all flat.
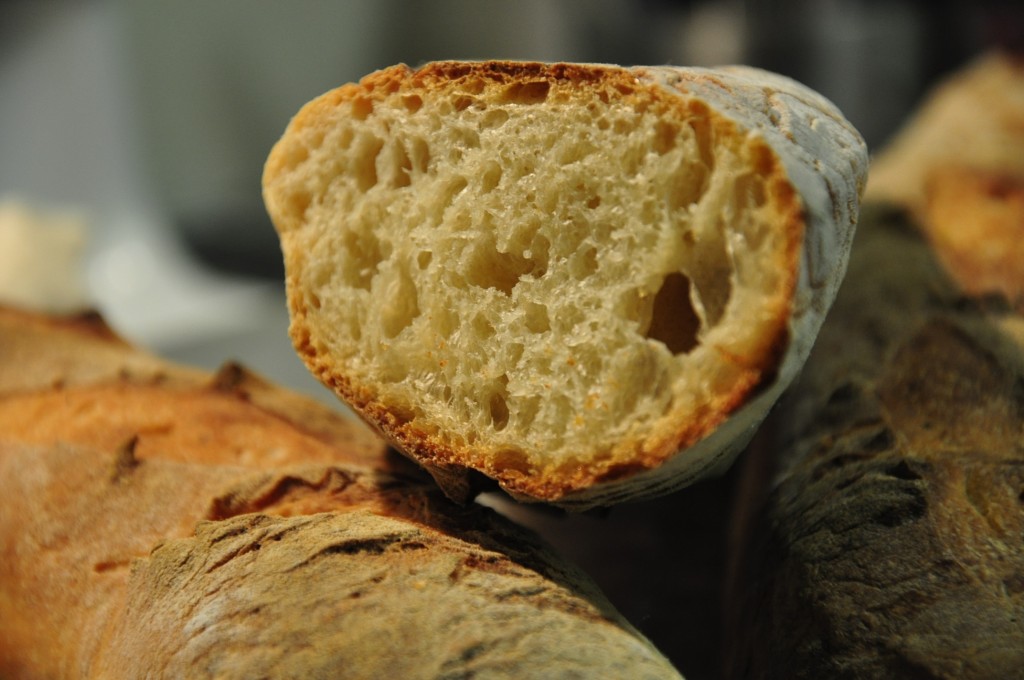
Nice airy structure and crunchy crust. Not bad!
While the baguettes were not as tight as I would have liked them to be, I loved the airy structure and texture. Flavor-wise, they were good – more like a sweet yeasty flavor as oppose to a sourdough tanginess. Interestingly, when I dipped the bread into some chile verde that I had made, its porky, slightly acidic and smoky chili flavor brought out a lot of the complexity of the bread’s own flavor. Toast made with slices of baguette spread with homemade jam was simply delightful.
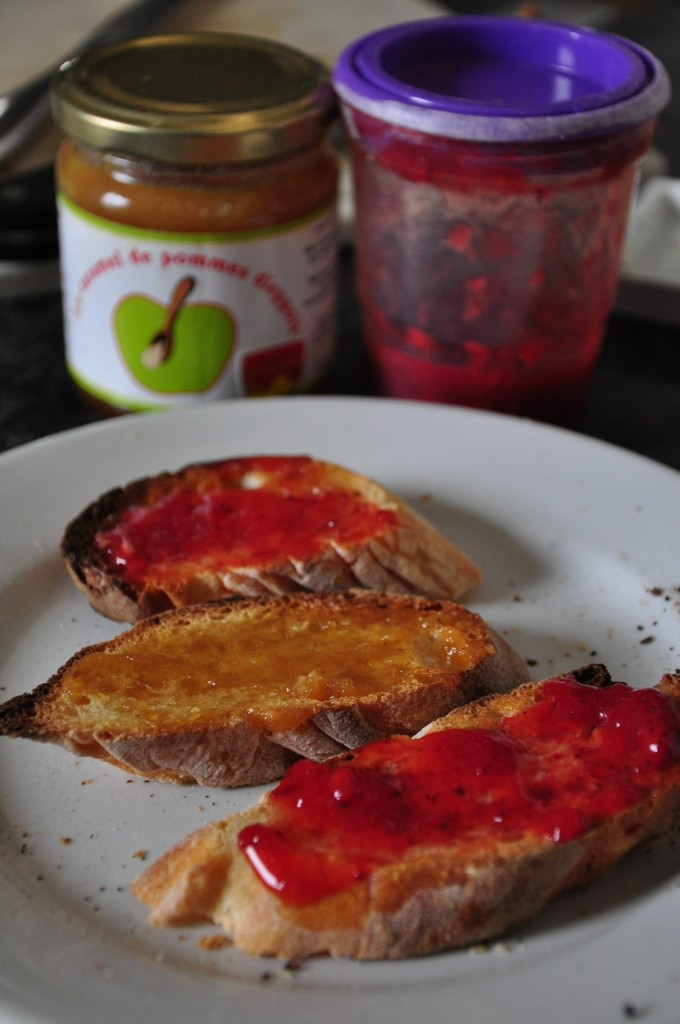
Day old baguette toast with caramel de pommes (apple butter from France!) and homemade strawberry jam (from Michigan!)
Final verdict: Overall it was a success in that the baguettes didn’t flatten out and retained a nice structure. Taste-wise, while good, I prefer a little bit more sourness so, next time I think I’ll use less poolish and more natural leaven. Perhaps that will give me more control over the flavor and yield a less hyperactive rise so that the final shape will look not so much like an overweight caterpillar and more like a true baguette.
