Baguettes!

I like projects. I like bread. I like bread projects. Case in point: baguettes. While the consumption of the venerated French style baguette couldn’t be easier – simply tear off a chunk, take it plain, slather it with butter or cheese, or dip it in some saucy sauce and then deposit in your mouth for mastication – the making of a good baguette is a bit more challenging.  But I like a good challenge so, a couple days ago I attempted to make baguettes following the recipe and instructions of Chad Robertson’s Tartine Bread book, a book for which I’ve developed rather deep emotional feelings.  I would say love would be an appropriate definition of those feelings.

Since my first attempt at the Tartine country loaf, I’ve made several loaves and while I can’t say I’ve mastered the technique, I have become quite comfortable with it and I’ve gotten a feel for how flour, water, yeast (in the form of the natural leaven) and time interact to produce certain results.
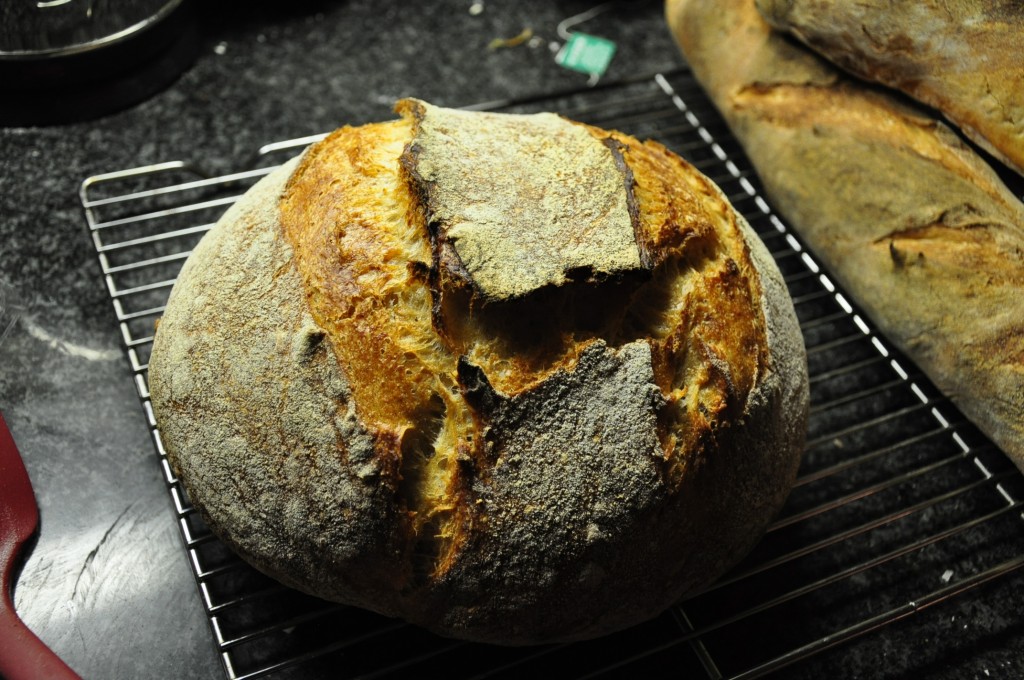
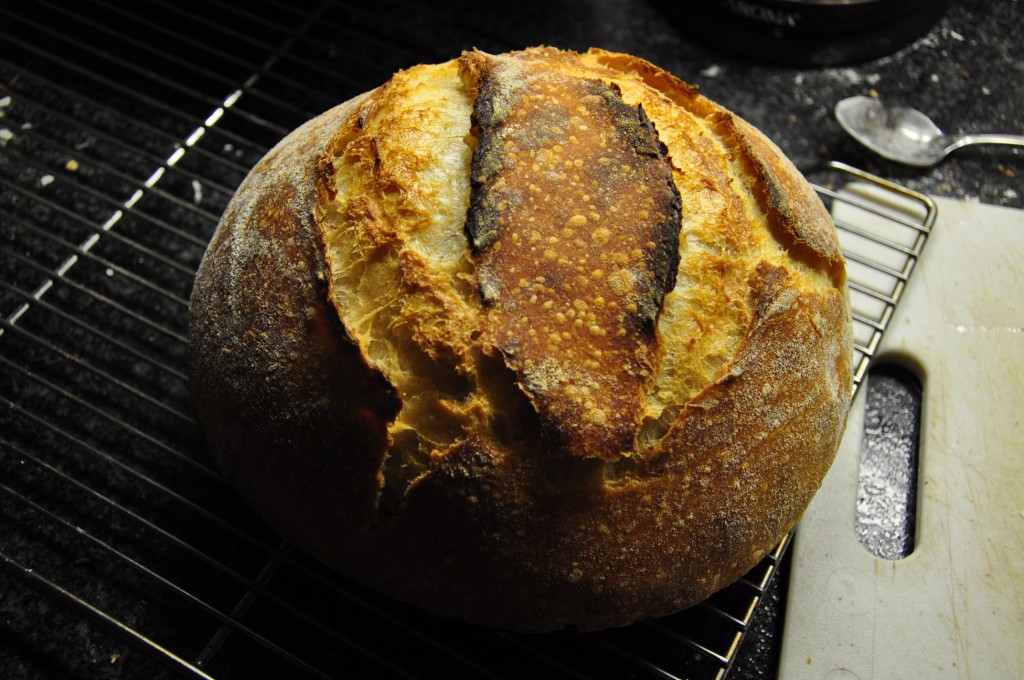
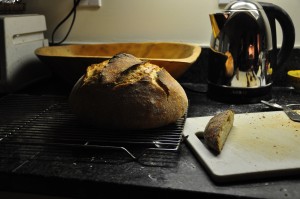
Ah, the good ol' country loaf. It's like sitting in your favorite chair, comfortable and reliable. (spoiler alert: baguettes in the background)

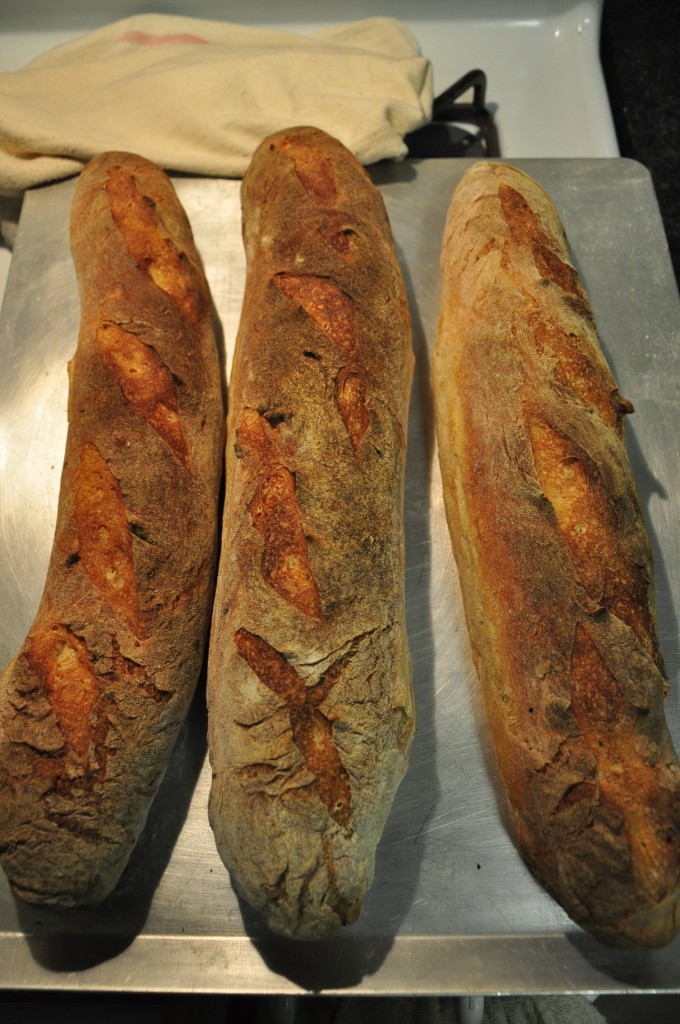
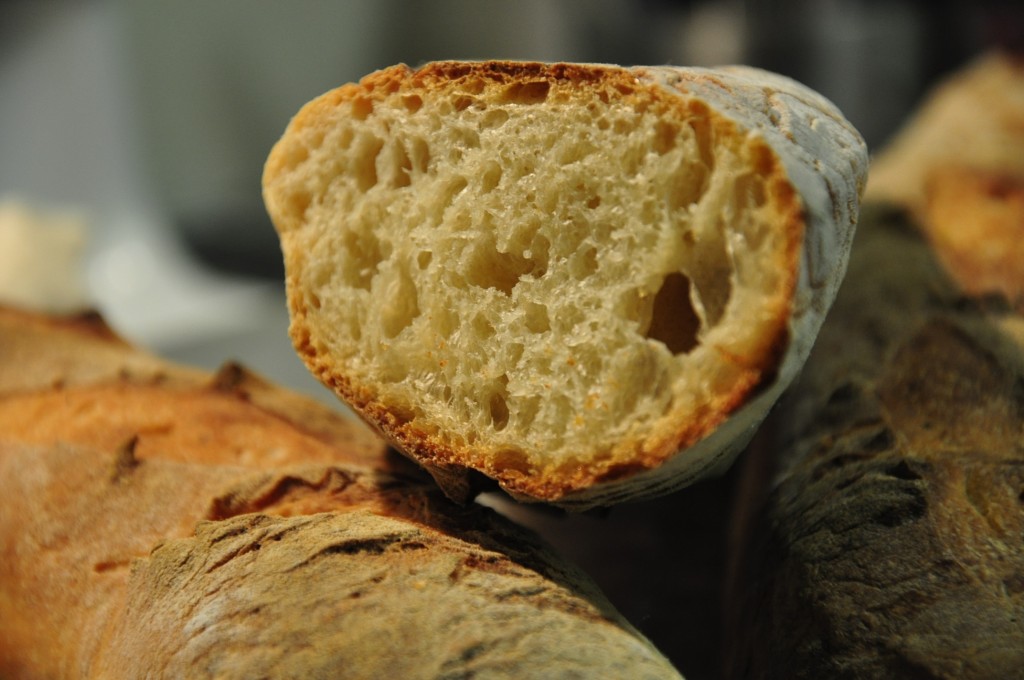
Now here’s where baguettes are different.  In addition to using a natural leaven, Robertson’s baguette recipe also calls for the use of commercial yeast in the form of a poolish (basically a leaven made with packaged active dry yeast instead of natural sourdough starter).  I know that the whole point of instant yeast is to be active and spark that fermentation process , but my God, the dial on on this yeast went up to eleven (that’s a Spinal Tap allusion, for all you non-nerds).  As per Tartine instructions I made the poolish (1.5 gram of active drive yeast + 1oo grams of flour + 100 grams of water) the night before I planned on making the baguette dough.  But within an hour of mixing the poolish, it was already rising over the walls of the bowl.  To slow it down a bit, I stirred out the air bubbles and I put the poolish in the refrigerator overnight which seemed to do the trick.  But that yeasty hyperactivity reasserted itself when I made up the dough.  It was like dealing with a hyperactive kid who’s eaten a breakfast of Honey Smacks in Coca-cola.  The baguette dough rose like crazy through the initial fermentation and during the second rise, after shaping it into three separate baguettes, it continued to bubble with activity.  So instead of the neat, svelte baguettes which I was hoping for, I ended up with rather bloated baguettes like Italian loaves you find in the grocery store.  Nevertheless, they were texturally really good with a nice crust and a chewy and airy interior.

I won’t go into great detail as far as method goes, because as I’ve said before, the Tartine Bread book does a better job of describing it and you should get your hands on a copy.  But here is a basic recipe rundown:

Dough (for about 3 medium sized baguettes):
200 grams of natural leaven (2 tsp of starter + 100 g flour + 100 g of water, mixed the night before)
200 grams of poolish (mixed the night before)
250 grams of water
325 grams of all purpose flour
175 grams of bread flour
16 grams of salt

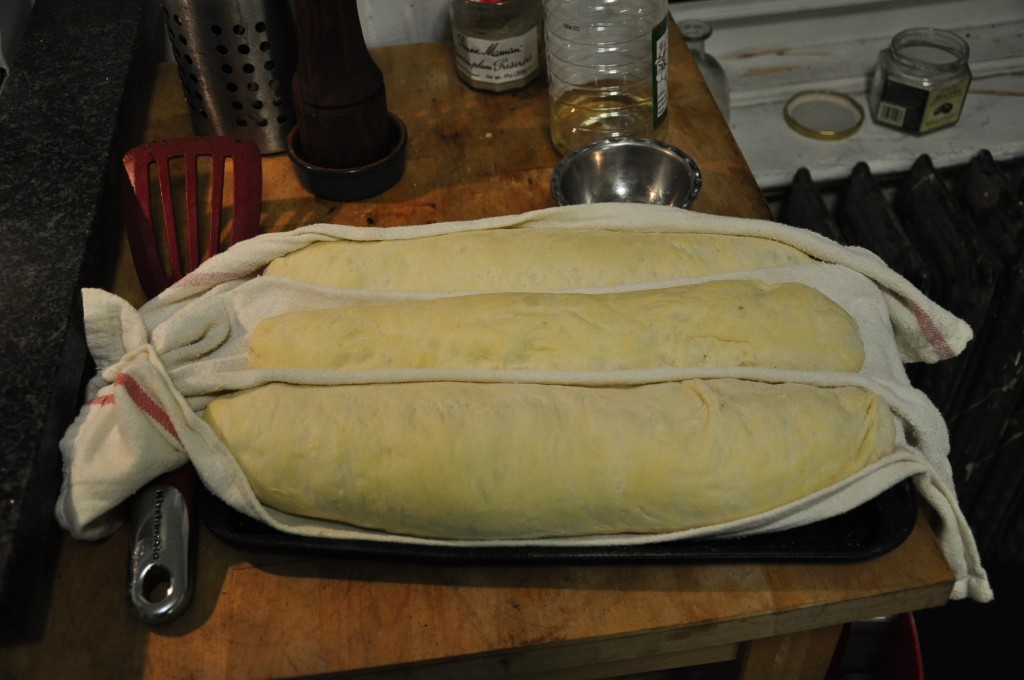
Following the basic country loaf process, I mixed the dough and let it go through a five hour bulk fermentation folding the dough on itself every half hour for the first two hours (for a total of about 4 turns). After five hours, I split the dough into three sections and gave each an initial shaping. After a half hour rest  on the work surface, I folded the three dough sections into elongated baguette shapes and placed them on a floured towel for the second rise of about three hours.

Baguettes in a blanket: after the second rise, my baguettes resembled fat lazy caterpillars.

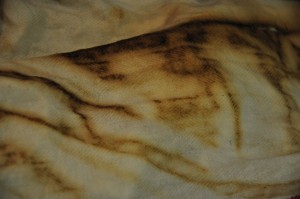
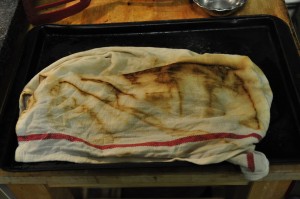
Now here’s where it gets a little more complicated. Because the baguettes are so long, I couldn’t bake them in the dutch oven so as per Tartine’s instructions I baked them on a pizza stone. During the first 15-20 minutes of baking, it’s important to have a lot of steam and moisture in the oven because it allows for the expansion of the loaves and the formation of a more delicate crust. So again, following Tartine instructions I soaked a kitchen towel in water and put in on a cookie sheet on a rack underneath the pizza stone to produce steam. A brief tip on using this technique: make sure there’s enough water so your towel doesn’t dry out. Let’ just say I didn’t realize towels could burn  and get charred so quickly.

Shroud of Turin?

No, just a burned and charred towel.

After about 20 minutes I removed the cookie sheet and kitchen towel and let the baguettes bake for another 12-20 minutes.  And this was the result:

Baguettes afer baking: a little bloated but I'm happy that they weren't all flat.

Nice airy structure and crunchy crust. Not bad!

While the baguettes were not as tight as I would have liked them to be, I loved the airy structure and texture.  Flavor-wise, they were good – more like a sweet yeasty flavor as oppose to a sourdough tanginess.  Interestingly, when I dipped the bread into some chile verde that I had made, its porky, slightly acidic and smoky chili flavor brought out a lot of the complexity of the bread’s own flavor.  Toast made with slices of baguette spread with homemade jam was simply delightful.
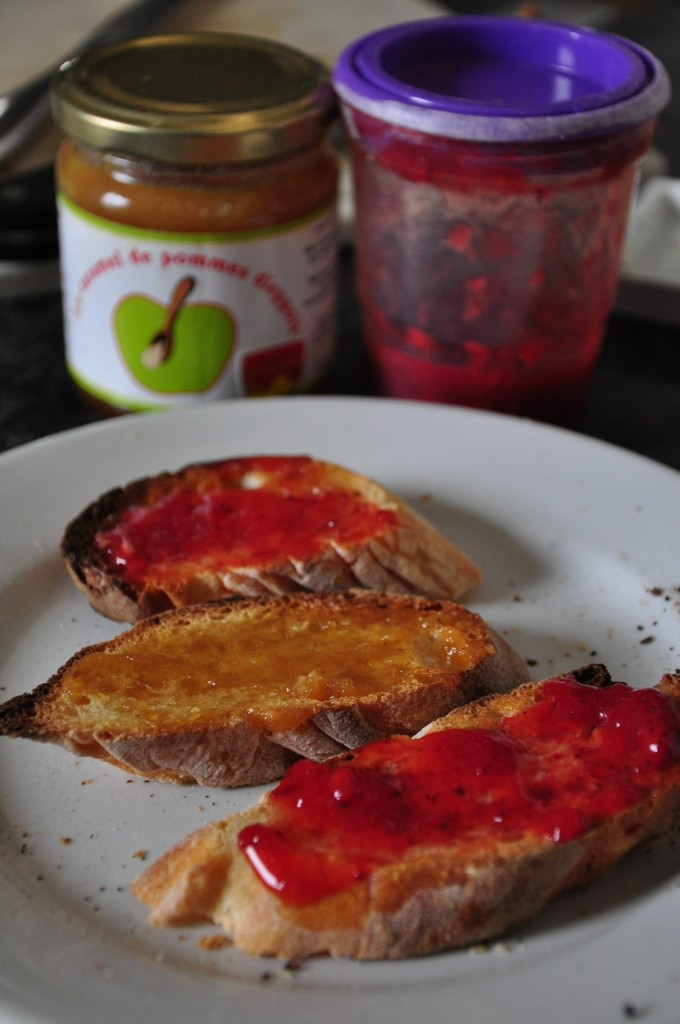
Day old baguette toast with caramel de pommes (apple butter from France!) and homemade strawberry jam (from Michigan!)

Final verdict: Overall it was a success in that the baguettes didn’t flatten out and retained a nice structure.  Taste-wise, while good, I prefer a little bit more sourness so, next time I think I’ll use less poolish and more natural leaven.  Perhaps that will give me more control over the flavor and yield a less hyperactive rise so that the final shape will look not so much like an overweight caterpillar and more like a true baguette.

Share

bread smack down!

Thanks to my sister, Cheryl, a frequent contributor to this site, who for Xmas and my birthday gave me the gifts of a digital food scale and the Tartine Bread book, I endeavored this past weekend to do a comparison of sorts between Jim Lahy’s no knead bread and Chad Robertson’s Tartine country bread.

While I’ve always had good success with the no knead bread in terms of taste and texture.  My loaves have always been on the flat side, not rising during baking nearly as much as I always hope.  Now this could just be due to my lack of technique (though this method requires little in the way of technique) because  Matt, my sis, Niels, Bret and PK (alright everybody else) have all gotten pretty lofty loaves when they’ve baked a no knead loaf. My loaves always end up looking more like hockey pucks – tasty hockey pucks, but hockey pucks nonetheless.

For the purposes of the test, I followed both recipes to the T, though I halved each recipe because I didn’t have enough flour and honestly, Shef and I can’t eat that much bread.  Lahy’s recipe is for one loaf, so essentially, I made a half loaf, or mini loaf in the no knead vein. Robertson’s recipe is for two loaves so by halving that, I made just one loaf. I used the same ingredients for both: bread flour, sea salt, water and the beloved sourdough starter (which come to think of it, has been in my possession now for two years – so tending a starter might very well be great preparation for having kids). I fed the starter in the early afternoon on Friday and made sure that it was bubblingly active for both breads.

The No Knead Loaf
Lahy’s recipe actually just calls for dry active yeast, so I suppose using a natural starter is a bit of a variation but everything else faithfully followed the recipe.  Here’s the breakdown for the mini loaf:

Flour- 200 grams or 1 1/2 cups
salt – 4 grams or 5/8 tsp sal
starter – 2 tbsp
water – 150 grams or 2/3 cup

I mixed all the ingredients at 8 pm on Friday night and then at 12 pm noon the next day (16 hours later) I reshaped for the second rise (third on top of third on top of third, etc.). I let the loaf rise for another two hours (it didn’t rise much, as usual) and  then I baked it for the requisite time and here was my result:

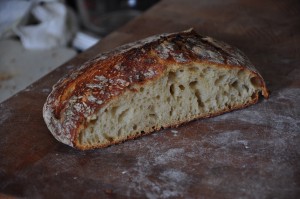
Nice texture and great crunchy crust, but just a little bit flat (as usual).

No knead mini loaf. Nice airy loaf, just flat

As usual, it was a tasty loaf with a nice crunchy crust and chewy center, but also as usual, the loaf came out a lot flatter  and denser than I had hoped.

The Tartine Country Loaf

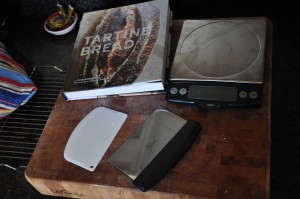
With the exception of adding a bit more salt to the dough, I followed this recipe  down to the gram and the degree  – even measuring the temperature of the water I used.  I also employed the proper tools (a dough spatula, bench knife and food scale) because I was not messing around… and I’m a big dork.

Tartine Bread book, food scale, bench knife and dough spatula

Interestingly,  the proportions of water, flour, salt and starter are almost the same as those of the no knead recipe.  The main difference is that while the no knead calls for dry active yeast, the country bread calls for natural leaven which according to Robertson is derived from the starter.  So in order to make the leaven, I used a couple teaspoons of starter and mixed that with 50 grams of water and 50 grams of flour and let that mix sit out over night before starting the bread the next morning. That mix becomes your leaven. Here’s how the recipe for one Tartine country loaf breaks down:

Flour – 500 grams
Leaven – 100 grams
Water – 350
Salt – 10 grams (I actually used 15 grams)

Now the main difference between the two methods is in how much you actually handle the dough. Obviously the no knead method is a minimalist approach in that once you mix the dough, you don’t handle it until the final shaping before the second rise which precedes the baking. The Tartine method is a bit more hands on (literally) in that you actually do tend to the dough in the first rise – or primary fermentations as Robertson refers to it –  of three to four hours. I won’t go into detail here because really the book does a better job explaining (so get your hands on a copy), but I’ll just say, that you’re not really kneading the dough. Rather, you pull it and fold it on itself a few times times (every half hour) during the first couple hours. Between the primary fermentation and the second rise there’s a little bit more in the way of shaping and folding  for which I got to use my cool bench knife. I ended up with a real loaf shape which held it’s shape very nicely.  I think shaping the dough on the work surface seems to increase the surface tension of the outer dough layer which locks in air and increases the structural integrity of the loaf.  The second rise required another three to four hours which actually stretched to about five hours because Shef and I went to the movies and saw a double feature (a twofor as we call them wherein we see two movies for the price of one!) of The King’s Speech and True Grit.  Both were awesome.  The King’s Speech is like a British period piece bro-mance and True Grit is like a Western road movie/ surreal comedy -something the Coen Brothers do better than anyone else. But I digress.  By the time I got home,  preheated the oven  and started baking the bread, it was about 10 pm.  Here are the results:

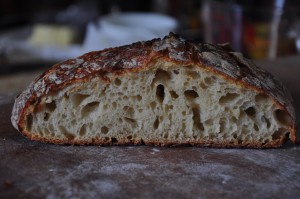
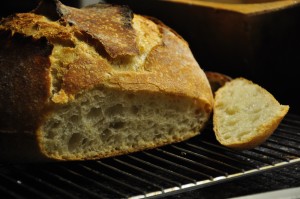
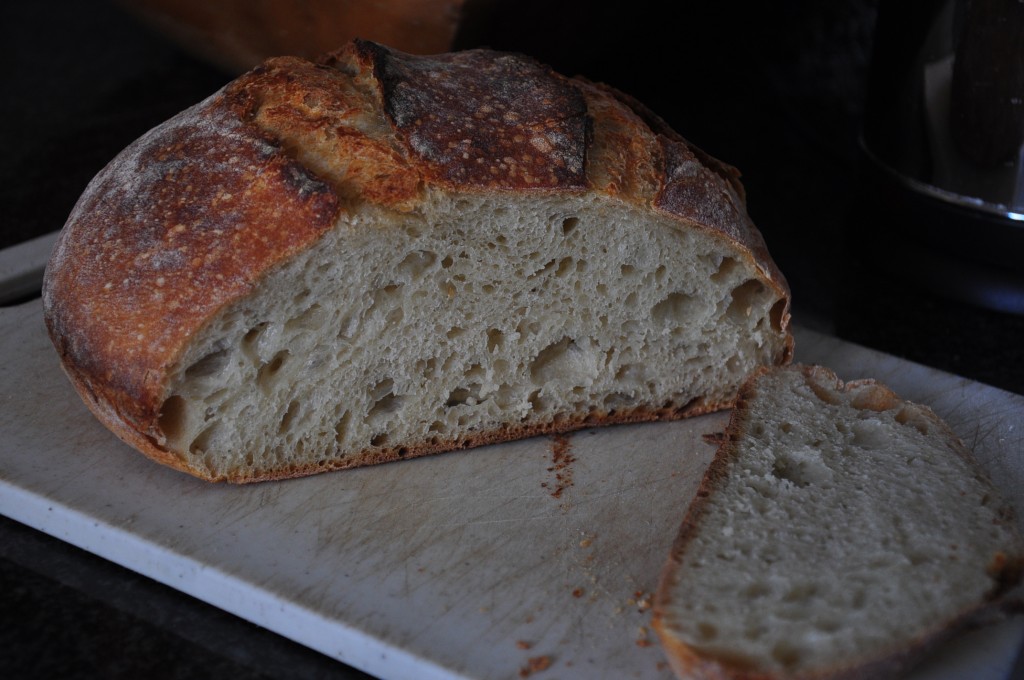
Dare I say, this was the finest loaf I've ever baked? I dare say "yes!"

This gives you a better sense of the difference, though it's really unfair because that's the flat end of the mini loaf. We'd eaten the rest with homemade butternut squash soup.

A chewy and light interior that also had a lot of textural integrity.

This bread slices very well. The next day, the crust remained crunchy while the interior held up extremely well to the serrated blade of the bread knife. Perfect slices for sandwiches

"Croque Clarence" - grilled salami and sharp cheddar cheese with homemade olive tapenade. Delicieux!

The verdict: a smashing success.  This technique yielded wonderful results.  It’s fair to say, I’ve never been so proud of a bread loaf in my life.  The bread rose like a champ and the texture was sublime –  the crunch of the crust giving way to the airy, but chewy and firm interior.  The flavor while not so different than the no knead, was just just a little more sour and a little more complex perhaps owing to the more delicate and less dense nature of the bread.

Final Analysis
So here’s my break down in terms of the time and labor of each bread.  From start to finish, the no knead takes about 20 hours with a minimum of labor.  For the Tartine method, excluding the time to make the leaven ( basically just feeding the starter) which is done the night before, from initial dough mix to baked bread it took about 10 hours but required a lot more hands on tending.  I would say though, the results were well worth it.  However,  it’s not something I can devote a whole day to all the time.  Perhaps there is a happy medium between the two methods wherein I split the difference and employ certain strategies of both methods to come up with a way to decrease the time necessary for the no knead bread as well as decrease the amount of hands on attention required by the Tartine method.  To figure out this middle road, that will be new my mission.

Share

Sourdough pizza…dough

Remember Matt’s sourdough starter baby?  Well two years later, it’s still alive and kicking (figuratively speaking).  I’ve made numerous  bread loaves – some successful, others, to be honest, terrible.  But it’s been a learning experience throughout and it’s been great to pass on the starter to friends and see what they’ve done with it.  It’s like watching my friends raise their kids.  For example, PK has become and ace waffle maker, adding corn meal to the recipe which adds a whole new dimension of flavor and texture to the already sumptuous and rich sourdough waffles.

And my friend Niels has from the get go baked beautiful and tasty loaves and was the first person I knew to do a sourdough rye which he brought to our last dumpling party but which was unfortunately  consumed before I had a chance to take a photo.  It was delicious though. And he’s also the one who advised and reminded me that to bake  a good loaf, you have to get the starter going again so it’s really active and really productive.  So recently, if I make bread, or waffles or pizzza dough, I make sure – per Niels reminder – to take the starter out of the fridge in the morning, stir it up and get it bubbling again, feed it once or maybe two times over the course of a day (maybe pouring off some of the excess  (I know wasteful, but if you’re not making waffles or pizza dough what are you going to do with so much starter).  So by the time I’m ready to make the dough some time in the evening, it’s super bubbly and has that really fermented sour smell.  The last few times I made bread this is what I did and it made a noticeable difference.  I also made a really good sour dough pizza dough.  Here’s the rough recipe:

1 cup of starter
3 cups of bread baking flour
about 3/4 cup – 1 cup of water (you can add a little more or use less depending on how wet you want the dough)
1 1/2 tsp of fine sea salt
1 1/2 tsp of sugar

Mix all the contents until you have a nice dough and like the no knead bread, you let this dough mixture proof for about 18 hours until it gets really bubbly and rises until it’s about twice its original volume. Then you can punch it down and roll it into you pizza crust and let the crusts proof for about fifteen minutes to half an hour – per Saveur Magazine‘s recommendation – so they’ve risen again too. Then put your toppings on and bake in your preheated to 500 degree oven. Hopefully you have a pizza stone. The dough should be crusty, chewy and tangy. And the pizza should be delicious. If not, you failed.

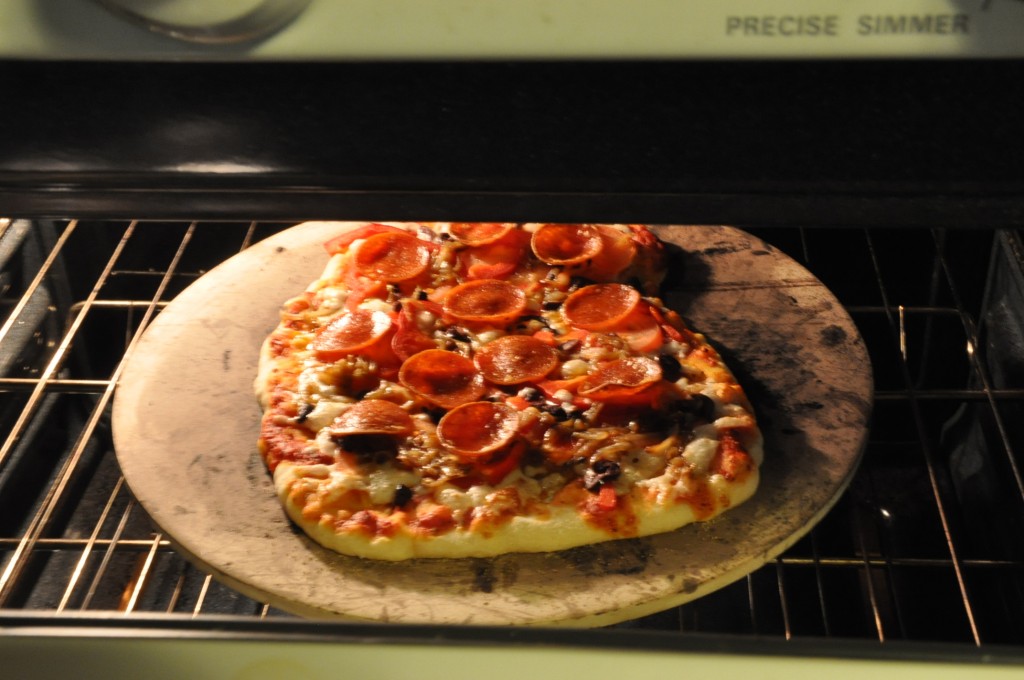
Here's my pizza baking in the oven

The finished pizza (toppings: pepperoni, olives, mushrooms, bell peppers, cheeze, sauce)

Share

Sourdough Baby!

Alright you all.  This post is decidedly anti “zone diet“.  Don’t get me wrong, I adore protein and delicious meat, but this post and page is all about the carbs.  Last month, I went back to the Bay for the holidays and came back to NYC bearing a very special gift.  The gift of sourdough starter bequeathed to me so generously from Matt aka Dumpling King (though now I would also dub him The Earl of Sourdough).  And since then, it’s fair to say I’ve been a little bit obsessed – obsessed with maintaining and tending the starter and baking the perfect sourdough loaf.  I’m happy to say the maintenance of the starter is going pretty well, because I’m a nurturing kind of guy.  The bread?  Well I’m still working on that.  Click on the image below for the full story behind the starter and my obsession with sourdough.

this is how much Matt loves his starter

Share