Turnip Cakes: An exercise in humility

Think of this post as my way of sharing with all of you my humanity, because  despite appearances, I am not perfect.  In fact, I too have my weaknesses, namely: how the hell to properly cook lo bak go (turnip cakes).  I didn’t really document this process very well (or at all since I wasn’t initially intending to post this) because  this was only my second attempt at making this old Cantonese standby and I knew there was a possibility of me mucking it up grandly. So, why you might ask, am I writing this?  Well, basically I just wanted to share with you this awesome video that I watched to guide me on my lo bak go making.   The woman on the video is my new cooking hero because she makes it look so easy, she’s no nonsense and she reminds me of relatives in Hong Kong.  It got me thinking that maybe the best way for me to learn and brush up on a different language (Cantonese in this case) is to watch cooking videos in that language. I found this video through another cooking blog called Apron’s Delight whose turnip cake recipe I used in conjunction with another recipe from cookbook author Grace Young.

Basically, lo bak go are like potato pancakes but instead of potatoes you use grated daikon radish  and you throw in a bunch of savory ingredients like Chinese sausage, dried shrimp and shitake mushrooms.  The tricky part – at least for me – is binding that all together with the right proportion of rice flour, cornstarch and liquid and steaming the mixture so it sets into a solid mass.

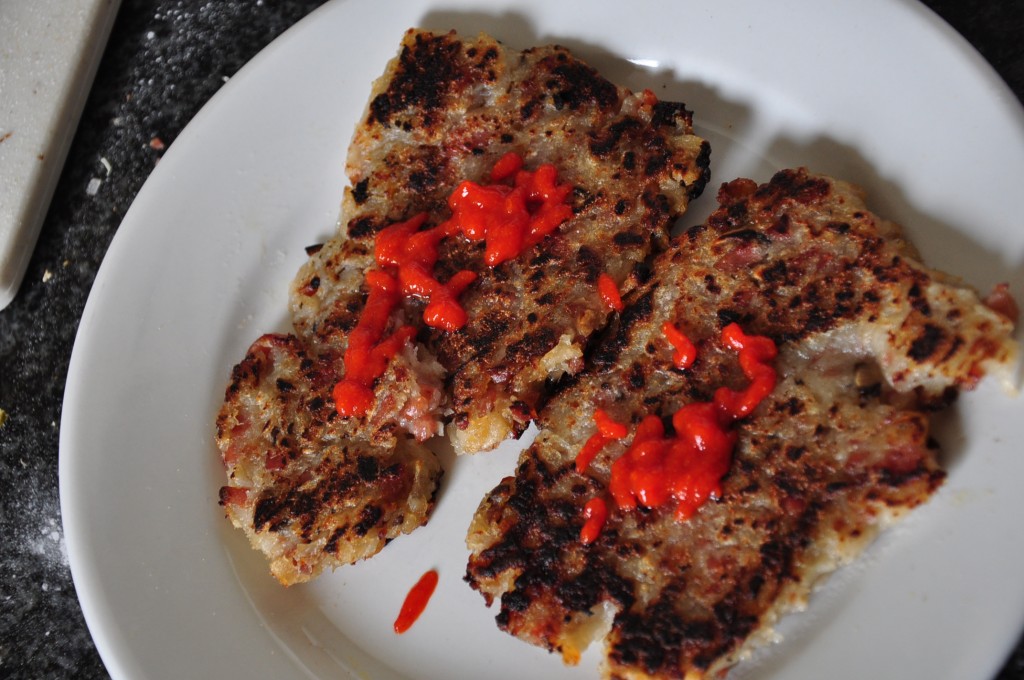
My lo bak go ended up tasting pretty good – really, how can something with a bunch of sausage in it taste bad? And while it did set (as opposed to the first time I cooked this) it was a little more dense and pasty.   It didn’t have quite the same light and resilient texture and consistency of the lo bak go I’m used to getting when I go to yum cha (literally drinking tea) – also known as dim sum. [Semantic distinction: yum cha is the act of going to eat the small dishes known as dim sum. Just dropping some Cantonese knowledge, folks.]  Take a look at my lo bak go and compare it to the photos in the links above and you’ll see what I’m talking about.

Lo bak go with a healthy does of sriracha. I like them kind of flat and crispy.

There are any number of reason’s why mine didn’t turn as I had hoped.  Perhaps I steamed it for too long (being a little paranoid that it would not set and remain sludge-like as my first lo bak go was, I steamed it for about half an hour longer than recommended).  Maybe I used too much rice flour and or not enough liquid.  It could be that my wok was too small or the lid was not airtight enough to accommodate the casserole dish I used to cook the turnip cake.  I will have to tweak and adjust the next time I cook this – if I ever get a two pound daikon from the CSA.  I guess the moral to the story is not everything you cook will always turn out as great as you hope.  But, if you fry it and smother it in sriricha it’ll probably be pretty good.

[UPDATE]

So, not being able to live with my imperfection, I did a little fiddling last night and I believe I greatly improved the lo bak go.  Basically, I steamed it more.  I transferred it into a more manageable round container and in turn, put that container in a pot whose lid fit snugly on top to trap all the steam.  I steamed it for another hour. I think that did the trick.  The lo bak go reset nicely. The texture is less sludge-like and chalky and more smooth and pudding like.  I think the flour needed to cook longer in an enclosed steamy environment in order to fully meld with the liquid and set.  So, for future reference, don’t use a wok with an ill fitting lid to steam.  Use a proper steamer that closes tightly and locks in that steam.  One step closer to perfection.  Easy.


Share

An’s Bun Thit Nuong (Cha Gio)

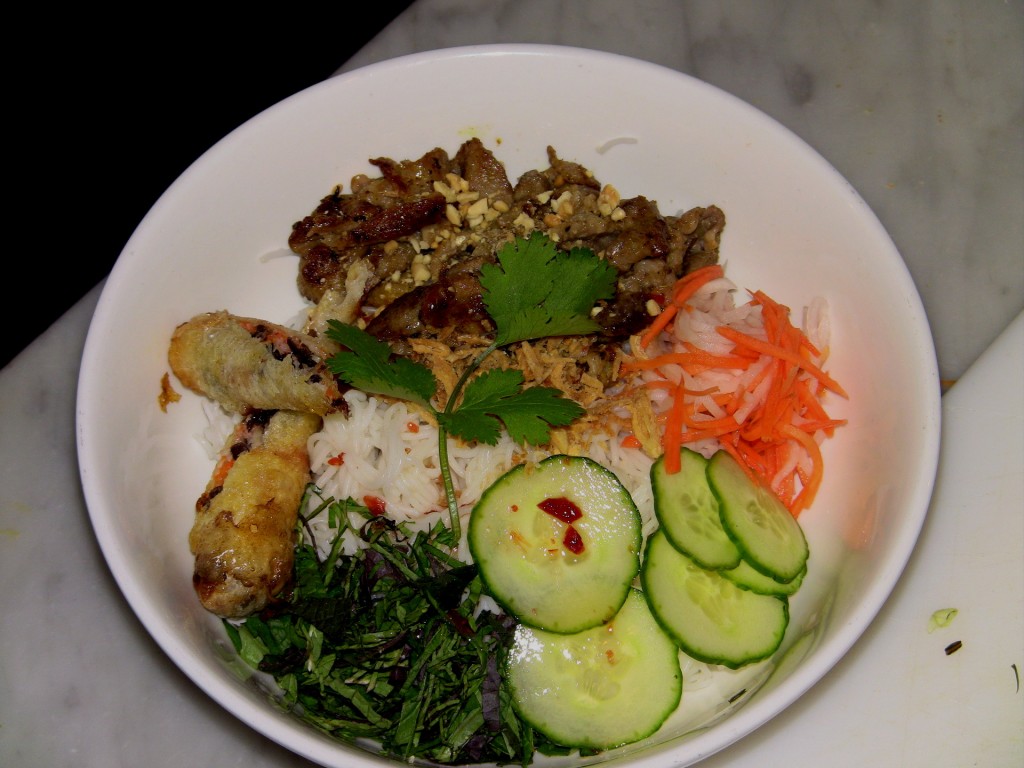
For those of you who aren’t fluent in Vietnamese bun thit nuong cha gio translates to vermicelli rice noodles with grilled pork and fried spring rolls. Okay, I’m going to come clean.  I actually didn’t know the full Vietnamese name for this dish or more precisely, how to pronounce it.  So,  I always referred to it as #6 or #8 on the menu.  But I’ve been a long time fan of this dish ever since I first tasted it at Khanh’s Garden, in San Jose when I was just a kid (a long, long time ago).  As I recall – the memories associated with food often being the sharpest and most vivid – this dish kind of rocked my world with it’s combination of textures, tastes and temperatures. The chewy, room temperature rice noodles serve as the foundation for the salty, charred pork and crispy, hot, deep-fried spring roll.  In addition, you have the accents of pickled carrots and daikon, cool cucumbers and aromatic mint and basi.  And it’s all brought together by the sweet, sour and spicy sauce that’s poured over everything. It’s basically an example of a perfect dish – or bowl. Ever since then, I’ve ordered bun thit nuong when I’ve wanted something comforting and reliably delicious and it’s often my gauge for measuring whether a Vietnamese restaurant is good or not.

So, it was with great pleasure that I visited An Nguyen Xuan at his pop up restaurant in Williamsburg, called Bep where he showed me how easy bun thit nuong is to prepare – provided you have all the main ingredients already prepped.   And once again it was confirmed to me how delicious it is to eat (or in my case, to inhale).  An is married to Janis, who’s a friend of Shefali (a.k.a. my wife) so while we’ve known about Bep for a while, it was only recently that I went to visit because I’m often too lazy to make the trek to Williamsburg (the G train just doesn’t cut it).  Man, laziness blows because after tasting An’s food, I can’t believe I’ve been missing out on tasting his food earlier and more regularly.  He’s a great cook – drawing on his Vietnamese roots, French heritage and experiences in the USA to create his own style of homey and delicious Vietnamese food.   Alright, enough reading.  Watch this video to get a sense of what I’m talking about and maybe you’ll learn how to make bun thit nuong cha gio – or at least know how to order it the next time you’re at Bep!

Bun Thit Nuong Cha Gio: the perfect bowl

Share

Dildar’s Bhindi (Indian Style Okra)

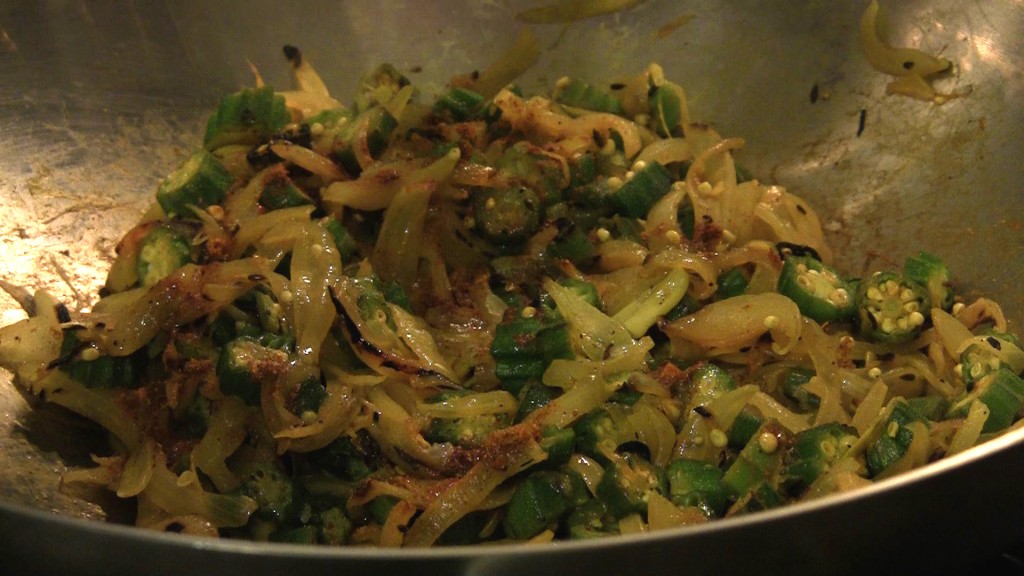
Bhindi: stir-fried, spicy okra.

Here’s a little something extra from Dildar (aka Guru) whom you might remember from his delectable aloo tikki with tamarind chutney. This time (actually he cooked this at the same time as he cooked the other dishes – oh, the wonders of editing) he prepared bhindi (Indian style, stir-fried okra). It’s such a simple and delicious dish that I wonder why I haven’t attempted it before. Oh, yeah the main ingredient: okra.  I didn’t grow up eating it, my parents never cooked it and when I’d had it in the past, it had been prepared  in the Indian style or deep fried in the tradition of American Southern cooking. Okra is a tricky little vegetable because as you cook it, it tends to ooze a slimy liquid which wikipedia terms “mucilagenous” which might very well be my new favorite word.  It basically means “snotty” – not the most appetizing quality in a food.  But Dildar has a great tip for minimizing this.  Basically he… oh I guess you’ll just have to watch the video.

Bhindi Recipe:
Ingredients (quantities are approximate)
1 – 1 1/2 lbs of okra
2 medium yellow onions
1/2 tsp whole cumin seeds
1 tsp salt
1 tsp pepper
1 tsp turmeric
1/2 tsp ground coriander seeds
1/2 tsp chili pepper
1/2 tsp garam masala
lime juice (to taste)

And here’s how he does it…

Share

Dildar’s Aloo Tikki and Tamarind Chutney

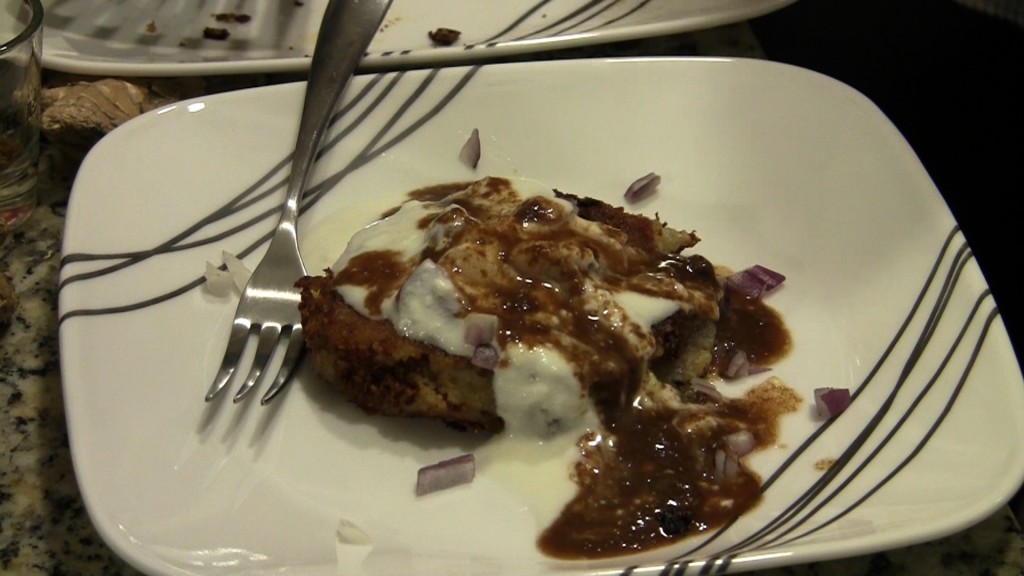
Beautiful aloo tikki with homemade yogurt and tamarind chutney

In the brief time I’ve known Dildar (aka Guru) and his wife Roompa, they have proven themselves to be not only witty and attractive (perfect date material – good thing they’re married to each other), but also gracious hosts and fantastic cooks. Together with Alka (also a fantastic cook), they are The Foodist Colony. Once a month or so, they cook for and host supper club during which they prepare a delicious multi-course meal (each course is served with a drink or cocktail of Dildar’s creation) for a select number of lucky guests . Now, I have yet to partake in one of these fabled meals, but I will soon. To tide me over, I was fortunate enough to invite myself over to Dildar and Roompa’s apartment to video and sample one of Dildar’s childhood favorites: aloo tikki served with tamarind chutney.

It’s tough being me. I know. But that’s why this blog exists – to share with all of you, the delicious things I get to eat. Count Dildar’s aloo tikki among them. And count yourselves lucky to be given his recipe and these oh so informative cooking videos. Please enjoy!

Dildar’s Aloo Tikki Recipe:
Ingredients
3 – 5 russet potatoes
2-3 red onions (diced)
1 tsp salt
1 tsp pepper (white)
1 tsp ground coriander seeds (roasted)
1/2 tsp chili powder
1/2 tsp garam masala
1 egg (for egg wash
panko bread crumbs
canola oil (for frying)

Here’s how he does it:

Tamarind Chutney Recipe:
Ingredients
2 cups of water
3 tbsp of tamarind paste/ concentrate
1 tsp roasted ground cumin seeds
1/2 tsp salt
1/4 -1/2 tsp black salt
1/2 tsp pepper (white)
1/2 tsp chili powder
1/2 tsp garam masala
2 tbsp sugar

This is how he does it:

Share