Hana’s Healthy Soba

Hana shows this dumpling who's boss

Here’s the latest and greatest from my youngest contributor, four-year old Hana (seen above sampling a dumpling).  This time, she takes on something a little more involved than ants on a log but as usual, she demonstrates her ease and charm in front of the camera as she guides us through the preparation of this healthy and delicious soba.  Me thinks she might have a future in this business.   Enjoy!

-C. Ting

[From Hana (as channeled by her food obsessed mom, Sari)]

Dear Uncle Clarence,

Here is my favorite meal of all time and I video’d myself for you.  I even take my healthy soba to pre-school in my lunch box sometimes.  My friends think “What the hell is that? It kinda stinks…” but I don’t care–it’s goood!  I make it myself and thought you needed my recipe on your website.  I got confused and called the Japanese yam (which my mom thinks is taro in English but maybe not?) many different things.  It’s real name is “tororo” but I said, tororo, totoro and daikon and something else.  They are all white and weird except for Totoro so it’s all the same.

Hope you like it!

–Hana

Hana’s Healthy Soba

Serves 4

1 package Soba (boiled and chilled in ice water)
3 cups Tsuyu (homemade or store-bought)
Grated Yamaimo (“Tororo”/Japanese Mountain Yam – skin peeled, grated)
Natto (2 packages with tsuyu packets mixed in)
3 Japanese Cucumbers (julienned or chopped however you like)
1 cup toasted Sesame Seeds
2 cups dried nori (in thin strips)
Green Onions (thinly sliced)  and Grated Ginger (optional)

Share

C’s Hot Wings!

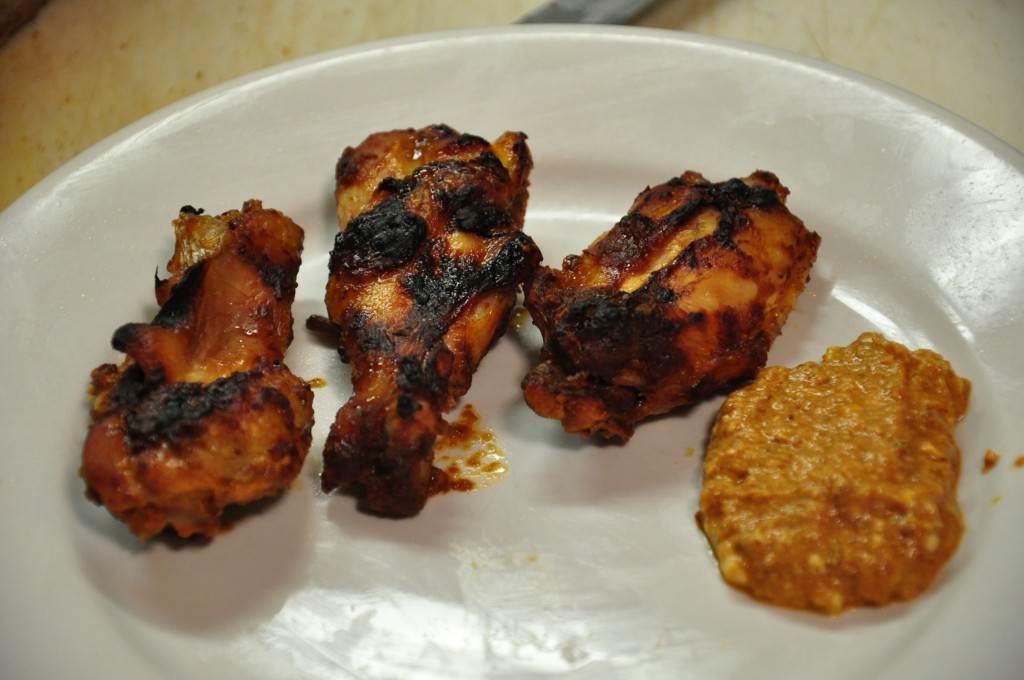
My attempt at plating. Anyway, you get the idea. Wings and drumettes with sauce.

Alright, I meant to put this up before the Super Bowl, but I got waylaid by Chinese New Year’s festivities (stay tuned for a future posting).  So football season is now officially over.  But really, who needs to watch grown men running around in skin tight pants, head butting each other in order to enjoy spicy and delicious chicken wings?  I, for one, do not.  And neither should you.  It’s always the right time for hot wings.

Here’s the recipe (as usual, quantities are suggested):

Ingredients:
8 oz chipotle peppers in adobo (or from 1/2 cup to 3/4 – depending on how spicy you want it)
2 – 3 tsp to of fish sauce
1-2 tsp of vinegar
1 tbsp of ginger
1-2 tsp of garlic
2-3 tbsp of plain yogurt
2 1/2 lbs of chicken wings

Here’s how you do it:

Share

bread smack down!

Thanks to my sister, Cheryl, a frequent contributor to this site, who for Xmas and my birthday gave me the gifts of a digital food scale and the Tartine Bread book, I endeavored this past weekend to do a comparison of sorts between Jim Lahy’s no knead bread and Chad Robertson’s Tartine country bread.

While I’ve always had good success with the no knead bread in terms of taste and texture.  My loaves have always been on the flat side, not rising during baking nearly as much as I always hope.  Now this could just be due to my lack of technique (though this method requires little in the way of technique) because  Matt, my sis, Niels, Bret and PK (alright everybody else) have all gotten pretty lofty loaves when they’ve baked a no knead loaf. My loaves always end up looking more like hockey pucks – tasty hockey pucks, but hockey pucks nonetheless.

For the purposes of the test, I followed both recipes to the T, though I halved each recipe because I didn’t have enough flour and honestly, Shef and I can’t eat that much bread.  Lahy’s recipe is for one loaf, so essentially, I made a half loaf, or mini loaf in the no knead vein. Robertson’s recipe is for two loaves so by halving that, I made just one loaf. I used the same ingredients for both: bread flour, sea salt, water and the beloved sourdough starter (which come to think of it, has been in my possession now for two years – so tending a starter might very well be great preparation for having kids). I fed the starter in the early afternoon on Friday and made sure that it was bubblingly active for both breads.

The No Knead Loaf
Lahy’s recipe actually just calls for dry active yeast, so I suppose using a natural starter is a bit of a variation but everything else faithfully followed the recipe.  Here’s the breakdown for the mini loaf:

Flour- 200 grams or 1 1/2 cups
salt – 4 grams or 5/8 tsp sal
starter – 2 tbsp
water – 150 grams or 2/3 cup

I mixed all the ingredients at 8 pm on Friday night and then at 12 pm noon the next day (16 hours later) I reshaped for the second rise (third on top of third on top of third, etc.). I let the loaf rise for another two hours (it didn’t rise much, as usual) and  then I baked it for the requisite time and here was my result:
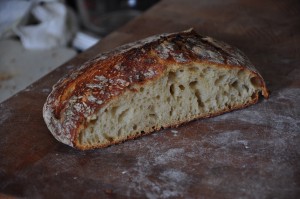
Nice texture and great crunchy crust, but just a little bit flat (as usual).
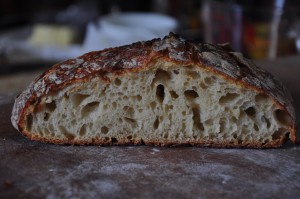
No knead mini loaf. Nice airy loaf, just flat

As usual, it was a tasty loaf with a nice crunchy crust and chewy center, but also as usual, the loaf came out a lot flatter  and denser than I had hoped.

The Tartine Country Loaf

With the exception of adding a bit more salt to the dough, I followed this recipe  down to the gram and the degree  – even measuring the temperature of the water I used.  I also employed the proper tools (a dough spatula, bench knife and food scale) because I was not messing around… and I’m a big dork.
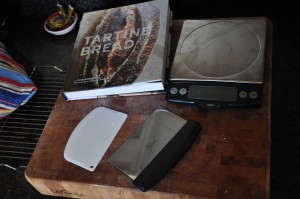
Tartine Bread book, food scale, bench knife and dough spatula

Interestingly,  the proportions of water, flour, salt and starter are almost the same as those of the no knead recipe.  The main difference is that while the no knead calls for dry active yeast, the country bread calls for natural leaven which according to Robertson is derived from the starter.  So in order to make the leaven, I used a couple teaspoons of starter and mixed that with 50 grams of water and 50 grams of flour and let that mix sit out over night before starting the bread the next morning. That mix becomes your leaven. Here’s how the recipe for one Tartine country loaf breaks down:

Flour – 500 grams
Leaven – 100 grams
Water – 350
Salt – 10 grams (I actually used 15 grams)

Now the main difference between the two methods is in how much you actually handle the dough. Obviously the no knead method is a minimalist approach in that once you mix the dough, you don’t handle it until the final shaping before the second rise which precedes the baking. The Tartine method is a bit more hands on (literally) in that you actually do tend to the dough in the first rise – or primary fermentations as Robertson refers to it –  of three to four hours. I won’t go into detail here because really the book does a better job explaining (so get your hands on a copy), but I’ll just say, that you’re not really kneading the dough. Rather, you pull it and fold it on itself a few times times (every half hour) during the first couple hours. Between the primary fermentation and the second rise there’s a little bit more in the way of shaping and folding  for which I got to use my cool bench knife. I ended up with a real loaf shape which held it’s shape very nicely.  I think shaping the dough on the work surface seems to increase the surface tension of the outer dough layer which locks in air and increases the structural integrity of the loaf.  The second rise required another three to four hours which actually stretched to about five hours because Shef and I went to the movies and saw a double feature (a twofor as we call them wherein we see two movies for the price of one!) of The King’s Speech and True Grit.  Both were awesome.  The King’s Speech is like a British period piece bro-mance and True Grit is like a Western road movie/ surreal comedy -something the Coen Brothers do better than anyone else. But I digress.  By the time I got home,  preheated the oven  and started baking the bread, it was about 10 pm.  Here are the results:
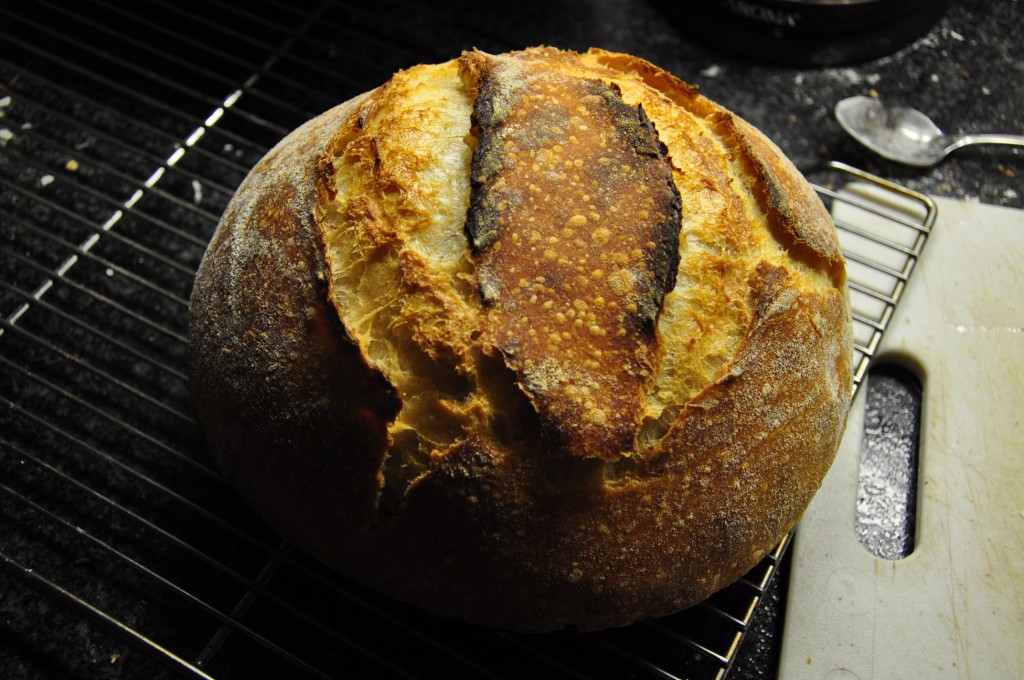
Dare I say, this was the finest loaf I've ever baked? I dare say "yes!"
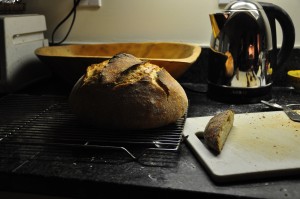
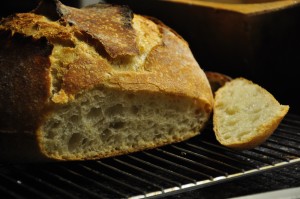
This gives you a better sense of the difference, though it's really unfair because that's the flat end of the mini loaf. We'd eaten the rest with homemade butternut squash soup.
A chewy and light interior that also had a lot of textural integrity.
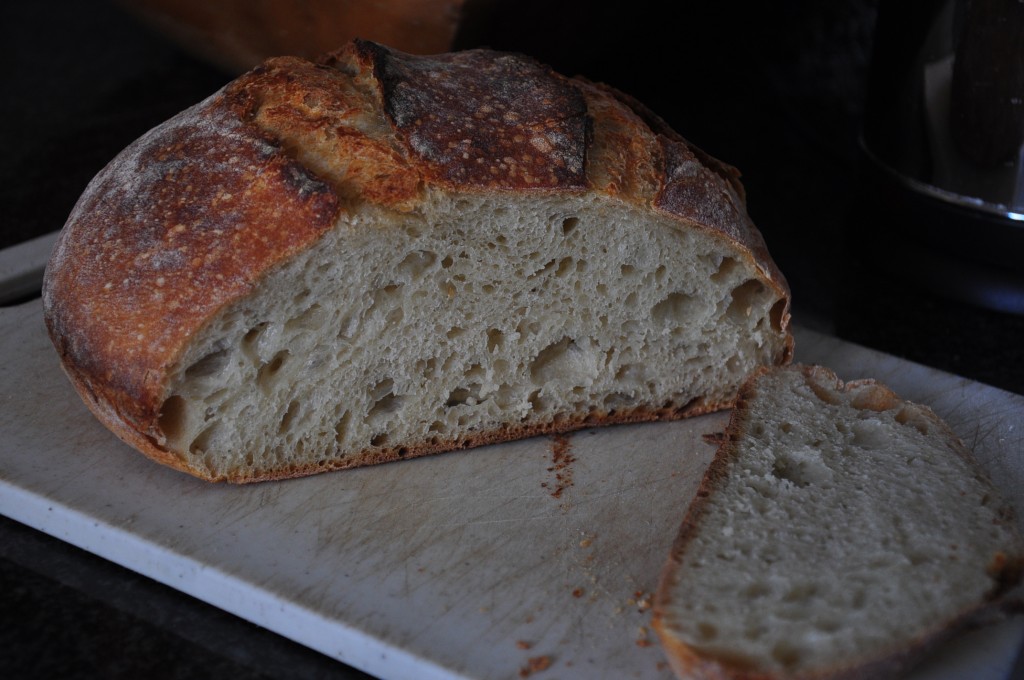
This bread slices very well. The next day, the crust remained crunchy while the interior held up extremely well to the serrated blade of the bread knife. Perfect slices for sandwiches
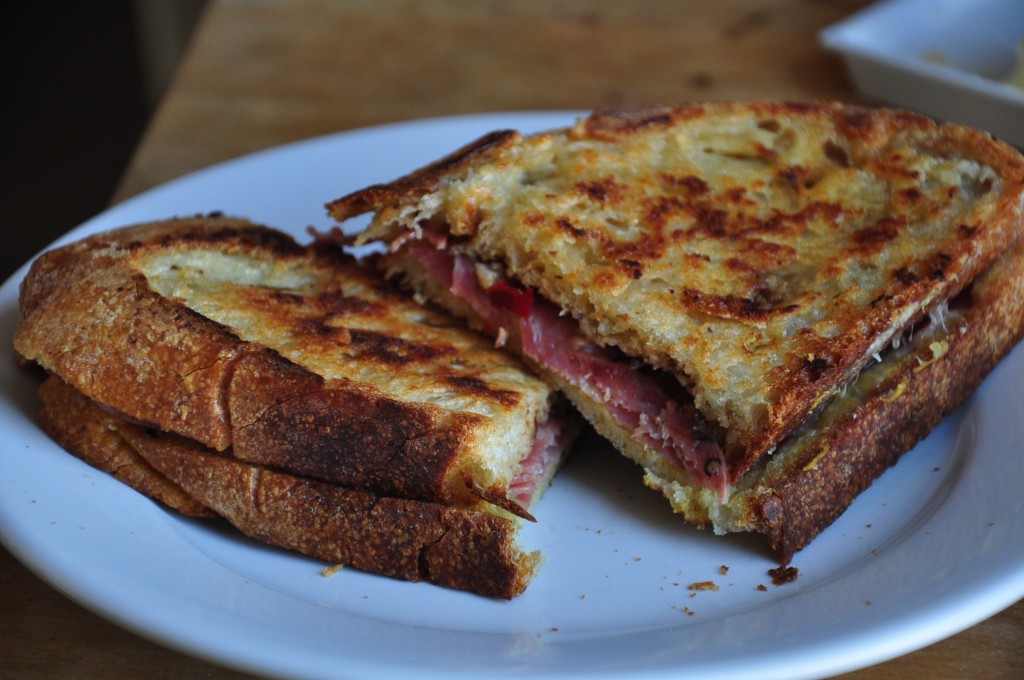
"Croque Clarence" - grilled salami and sharp cheddar cheese with homemade olive tapenade. Delicieux!

The verdict: a smashing success.  This technique yielded wonderful results.  It’s fair to say, I’ve never been so proud of a bread loaf in my life.  The bread rose like a champ and the texture was sublime –  the crunch of the crust giving way to the airy, but chewy and firm interior.  The flavor while not so different than the no knead, was just just a little more sour and a little more complex perhaps owing to the more delicate and less dense nature of the bread.

Final Analysis
So here’s my break down in terms of the time and labor of each bread.  From start to finish, the no knead takes about 20 hours with a minimum of labor.  For the Tartine method, excluding the time to make the leaven ( basically just feeding the starter) which is done the night before, from initial dough mix to baked bread it took about 10 hours but required a lot more hands on tending.  I would say though, the results were well worth it.  However,  it’s not something I can devote a whole day to all the time.  Perhaps there is a happy medium between the two methods wherein I split the difference and employ certain strategies of both methods to come up with a way to decrease the time necessary for the no knead bread as well as decrease the amount of hands on attention required by the Tartine method.  To figure out this middle road, that will be new my mission.

Share

Pasties!

First things first: the “pasties” I’m referring to in this post are not the ones you’ll find in a fine gentlemen’s club – well unless that gentlemen’s club happens to be in Michigan’s Upper Peninsula (UP) and serves local food.  You see the pasties (pronounced with a short “a” like “nasty”) I’m talking about are a culinary holdover of the Cornish miners who worked the copper mines of the Upper Peninsula when it was booming industry from the mid 1800s to the early 1900s.

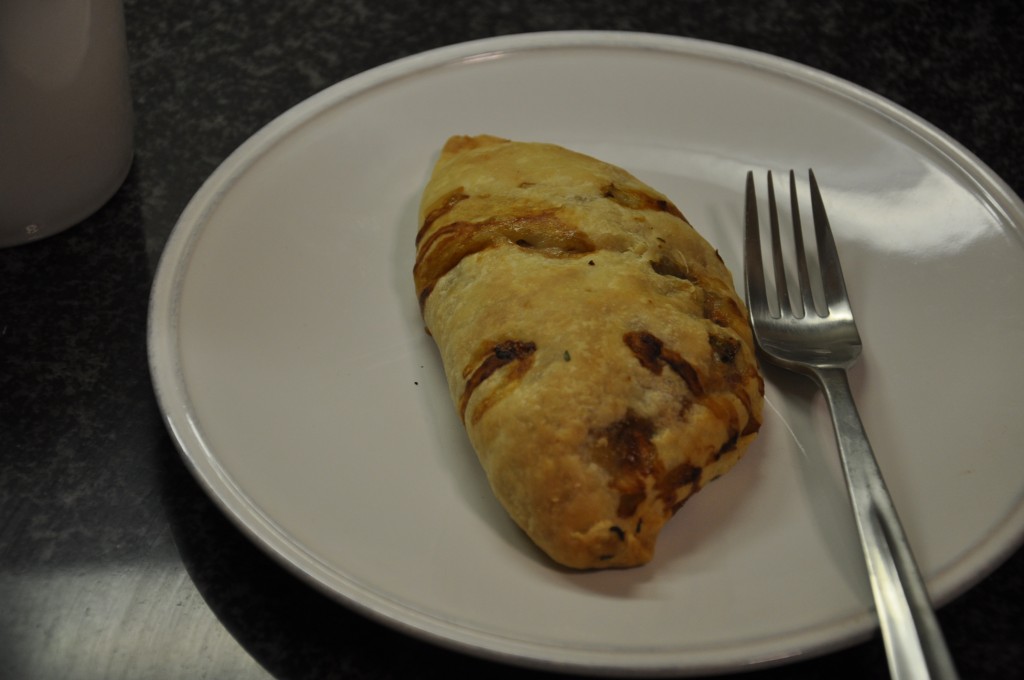
Not so pretty, but pretty damn delicious.

A pasty is basically a meat pie or empanada – crusty dough filled with meat, potatoes, carrots and turnips. I guess the pasty is like the working class Anglo Saxon version of the San Francisco style burrito which hailed from another working class population in California, Mexican farmworkers.  It’s an entire meal that travels well and can be eaten with one hand. But while the burrito has been a smash cross- over success -indeed spawning such food monstrosities like the whole wrap movement – the pasty remains a regional specialty.  It’s really easy to find pasties in the old mining towns of the UP, but as of yet there are no pasty chops or pasty trucks hanging on the corners of major metropolitan areas.  So thank the gods I married a small town girl from Michigan who introduced me to this Yooper culinary gem.  When Shef’s mom visits, she’ll bring frozen pasties for us in her luggage.  Now that is love.  But she can only carry so many and we’ve long since eaten our reserve pasties, so a couple weeks ago because we were feeling the urge and we had the requisite ingredients (or most of them) on hand, in our kitchen I decided to make pasties of our own.  The kitchen stars aligned, as it were. This was the my second time cooking pasties. The first time, I got a little too fancy pants – and way too labor intensive, roasting all the ingredients before hand.  So this time I elected to go the more traditional route and it totally paid off.  I consulted a number of recipes online, soaked them in and then basically did what I’ve described below. There’s a lot of prep work involved in these so give yourself a few hours to make them and make it worth your while by making enough for several meals.

Pasty Recipe (makes about 12)

dough:
Basically it’s a pie dough.
3 cups AP flour
1 tsp salt
1 1/2 sticks of butter
1 tbsp vinegar
1/8- 1/4 cup ice water – or just enough for dough to set

Add salt to flour and mix. Cut butter into the flour (pulsing a food processor works best) until you get a pebbly consistency. Add ice water by tbsp an mix by hand or in mixer. Work until the dough forms and holds but don’t overwork (you don’t want it to get to glutinous and elastic because then it’s harder to work later). Wrap the dough in plastic and let it set in the fridge for an hour or two.

Fillings (quantities are approximate)
1/2 lb of ground beef
1/2 lb of ground pork
2 hot Italian sausages (casings removed)
2 medium (or 1 large) onions – diced or chopped
4-6 carrots -finely diced or chopped
1 large rutabaga or 3 turnips (or any similar root vegetable in the turnip or even radish family. We actually used a daikon radish – thanks to our CSA – and it worked fine) – finely diced or chopped
2 lbs of potatoes (yukon gold) – finely chopped.
salt to taste
pepper to taste

Mix:
This is the easy part. Once everything is prepped and chopped just mix everything in a large bowl and add an ample amount of salt and pepper. These are your only seasonings so you can be generous (but don’t give yourself a heart attack). Mix everything together until the meat forms a paste over all the vegetables.

Making:
Now is the labor intensive part. Take your chilled dough and form small balls about 2- 2 1/2 inches in diameter. Flatten these balls our with a rolling pin taking care to roll them evenly so you end up with a dough circle about 7-8 inches in diameter. Put a good couple big spoonfuls of the filling on one side of the, but sure you leave enough space on the edge free of filling. Take the other side and fold it over so the top edge lines up with the bottom edge. Now use moisten the edges with water and seal them. Then, fold up the joined lip of crust and crimp it with your fingers so you end up with a semi circle with pie crust type seal along the curved side. Poke some holes in the top of the pasty so steam can escape.

Cooking:
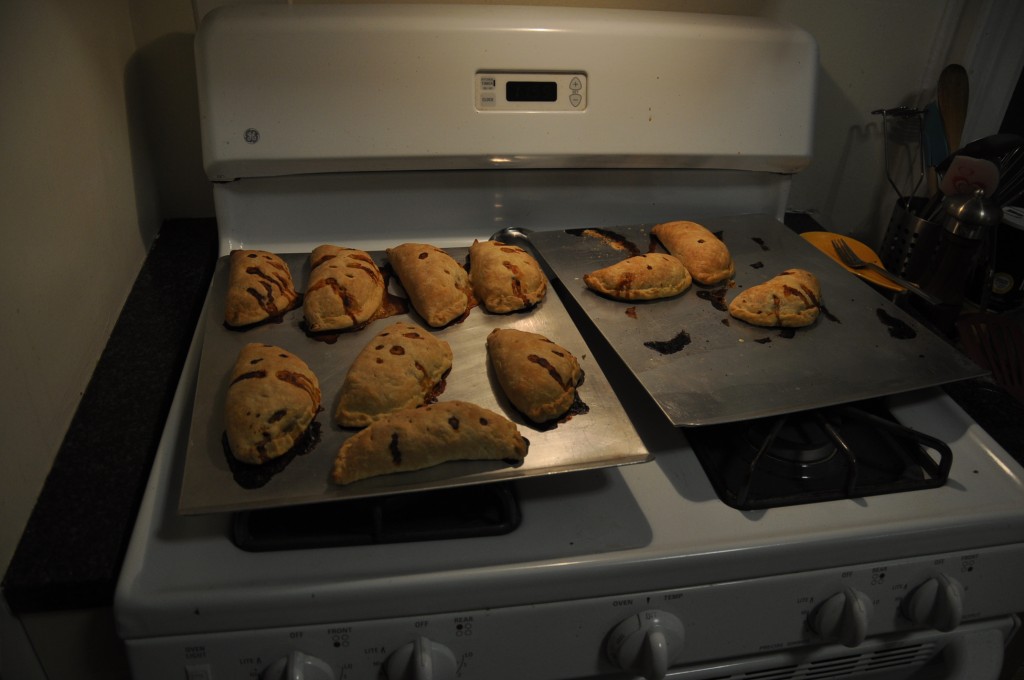
Bake the pasty in a preheated 375? oven for about an hour and boom!

Post baking - they were delicious. We froze bunch so we'd have some for later.

Eating:
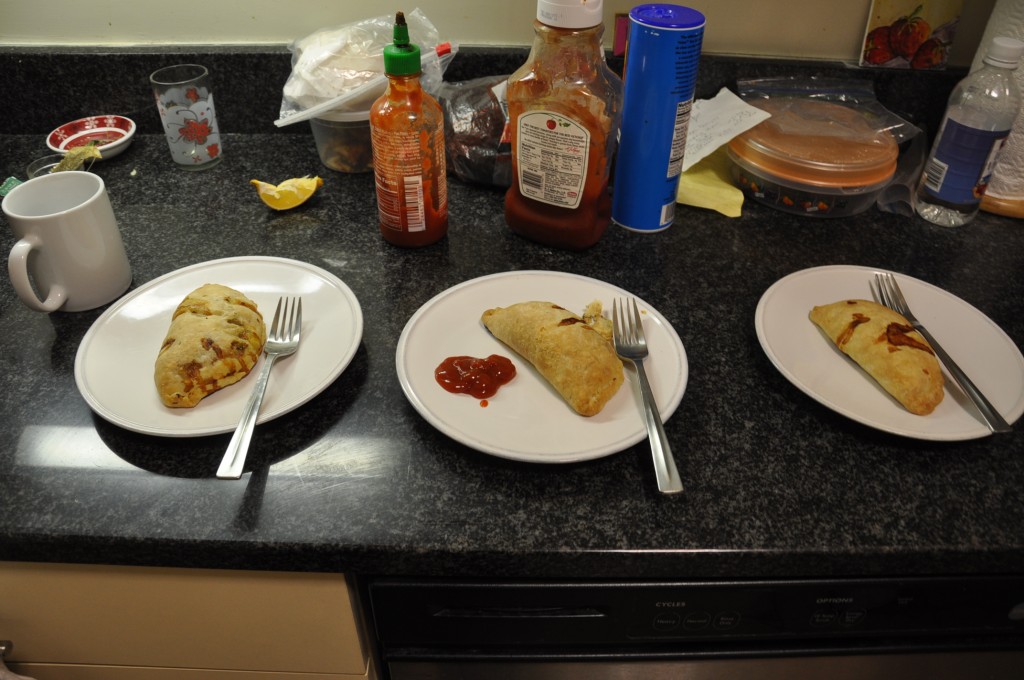
Use whatever utensils you want and whatever condiments you want (I prefer a mixture of ketchup and sriracha) and commence to put into you mouth and chew.  Savor the blend of meaty and earthy flavors … and swallow.  Now you know.  Pasties taste good and they’re not just for covering nipples.

Late night pasty eating. By the time I finished cooking these it was past midnight.

Share

Lahmacun and Sarmale

This past weekend found us taking a culinary trip from Turkey to Romania all from the comfort of our own kitchen.

Saturday Night = Turkey Night

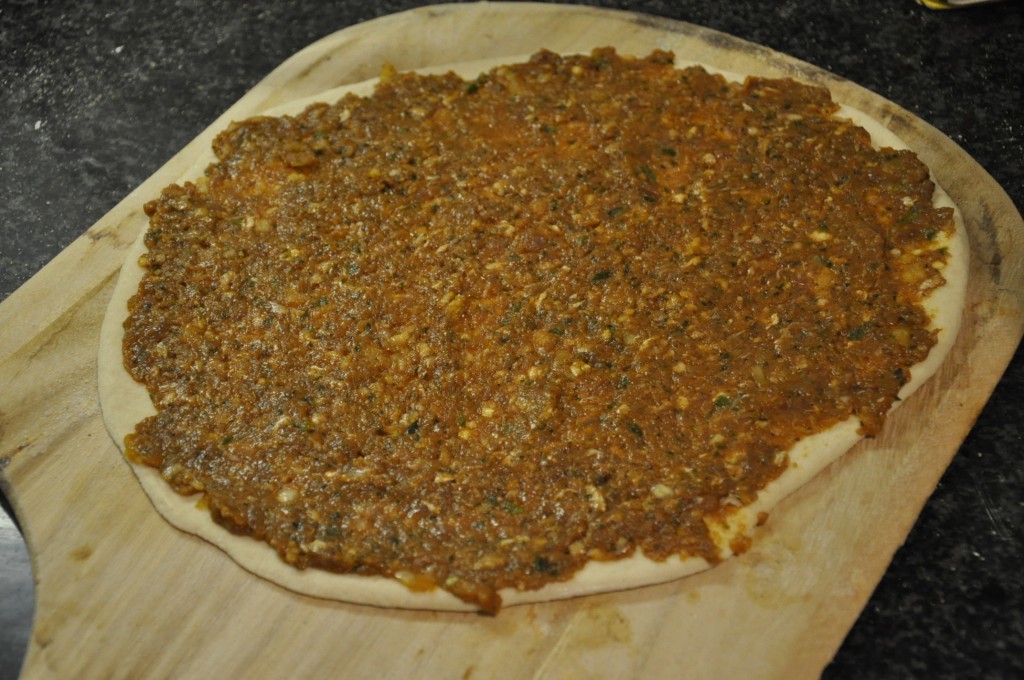
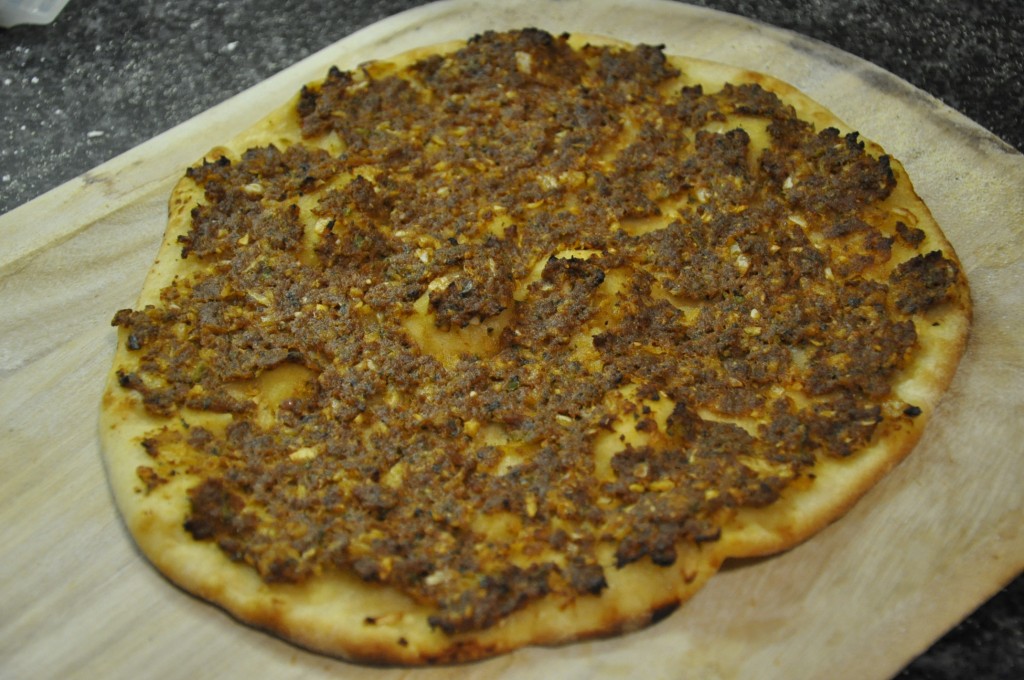
As is often the case, Shefali suggested and I executed.  In this case, she suggested that  I make lahmacun, a flat bread “pizza” with a topping of ground meat  and spices for a potluck party we were attending on Saturday night,.  Now depending on whom you talk to, lahmacun (pronounced: lah-ma-joon) is either of Turkish or Armenian origins.  I don’t  want to get into the particular complications of the conflicted relationship between Turkey and it’s Armenian citizens, but one thing they do share in common is this delicious savory snack/meal (I say “meal” because because once you try it, you might not be able to refrain from eating just a snack like portion).  You can also find lahmacun in Lebanese and Syrian restaurants and bakeries.  I consulted a couple recipes for inspiration: a Saveur Magazine recipe and a recipe from a Turkish cook book by Özcan Ozan, the chef owner of The Sultan’s Kitchen, a Turkish restaurant in Boston.  Then I just kind of did my own thing.  Again proving the versatility of the sourdough starter, I used the sourdough for which I was originally intending to make baguettes and then re-purposed for the flat bread.  It added a nice extra tang and chewiness. Here’s what the lahmacun looked like:

uncooked lahamcun - basically spicy meat paste spread over dough

after baking for about 10 minutes at 475 degrees F. Smelled just like Turkey! In other words, it smelled deliciously of spiced savory lamb

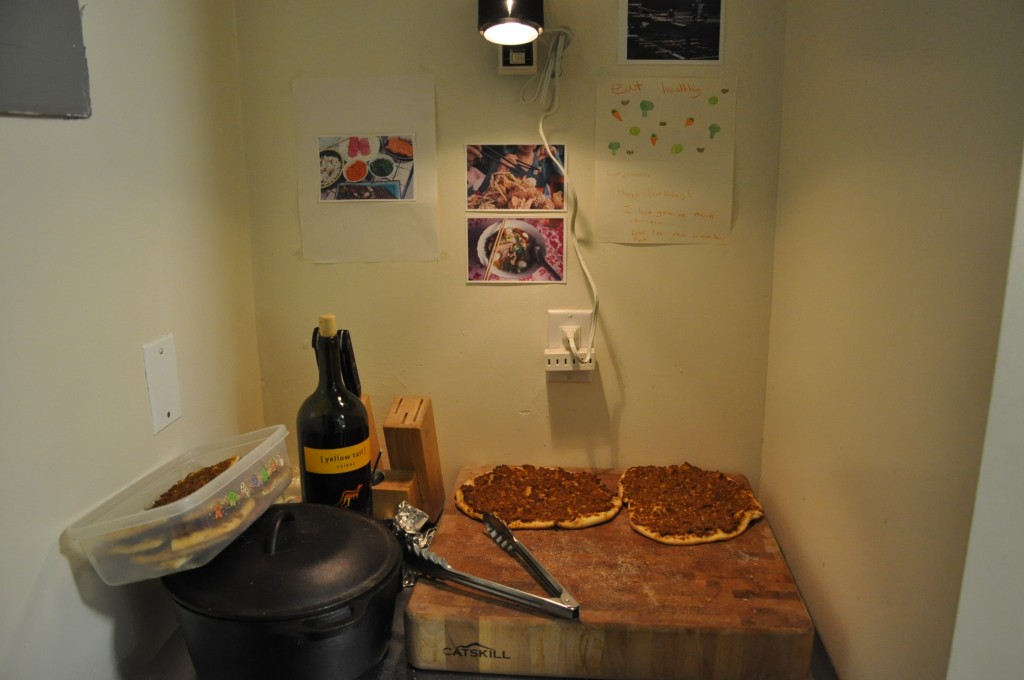
Lamahcun waiting station. Packing them up for the poluck.

Sunday Night = Romania Night

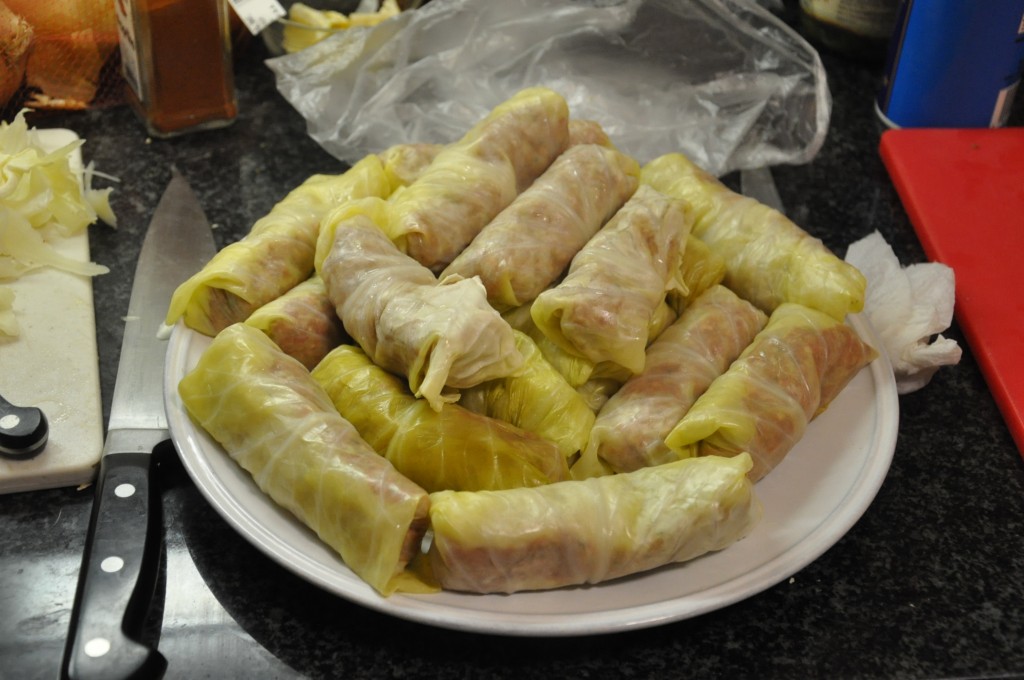
A fun game that we often play in our house is naked twister. But when we get bored of that we play another game called “what the hell should we do with all this cabbage in our fridge?” And fortunately our CSA gives us ample opportunity to play this game.  Case in point, our last pick up we got three different types of cabbage: a red cabbage with which I made my patented cole slaw, a napa cabbage for which I already assigned supporting role duty in Shanghai chow mein.  That left me with one more head of cabbage, an arrowhead cabbage (?) that I had to figure out how to cook.  Solution: sarmale, or Romanian style stuffed cabbage.  I’m dating myself here, but I first sampled sarmale in Romania when I was shooting a “documentary” about the origins of Dracula and vampires,  which served as bonus material  on the DVD release of one of the finest movies ever made: Underworld – yeah that vampires v. werewolves movie staring Kate Beckinsale. Well, at least it got me to Romania where I remember the food being really, hearty, rustic (raw bacon? yes please) and delicious.   Case in point: the stuffed cabbage dish called sarmale.  Stuffing cabbage with meat and other ingredients is not unique to Romania.   According to Wikipedia, sarma as it is also called has it’s origins in the Ottoman Empire which makes complete sense if you consider all the the countries in Eastern Europe and Central Asia that have stuffed cabbage.  They were all under the influence directly or indirectly (or just by proximity) to the Ottoman Empire.  Isn’t history cool?  Anyway, I consulted a number of recipes on the web and basically incorporated a bunch of them to suit my needs and capabilities.  Some recipes called for using sauerkraut which I didn’t have, so I blanched the cabbage leaves in water and vinegar before using them to wrap the meat mixture ( a combination of ground pork, lamb and beef mixed with rice, spices, onions, garlic and celery).  The end result? Delicios! (uh, that’s Romanian for “delicious”)

Sarmale - cabbage is stuffed and ready to be cooked

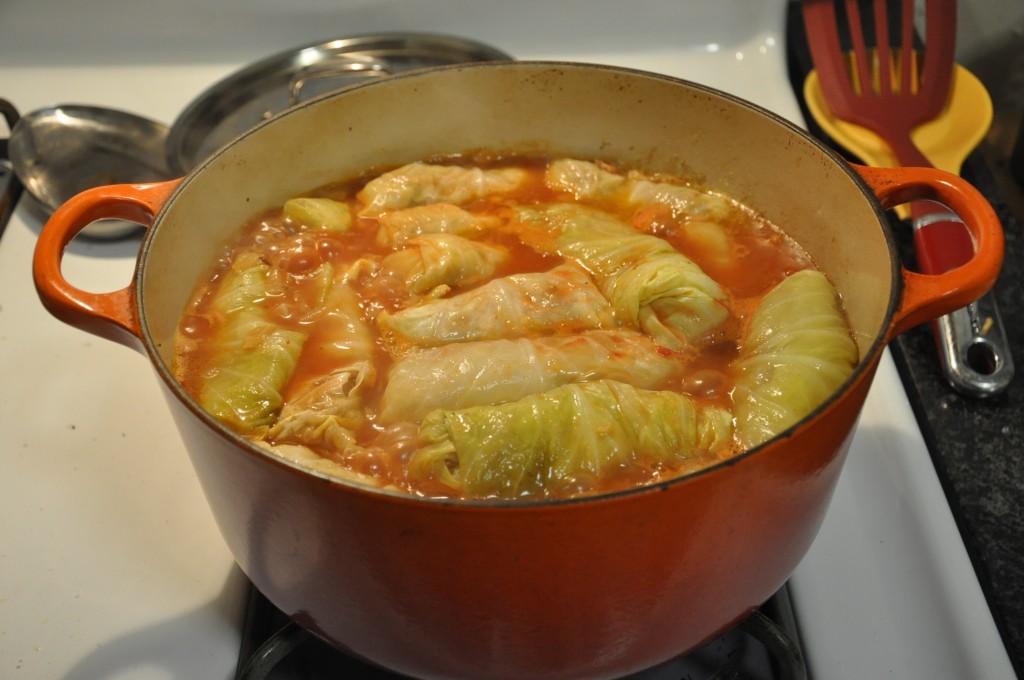
Sarmale in the pot and simmered slowly in broth and a bit of tomato paste

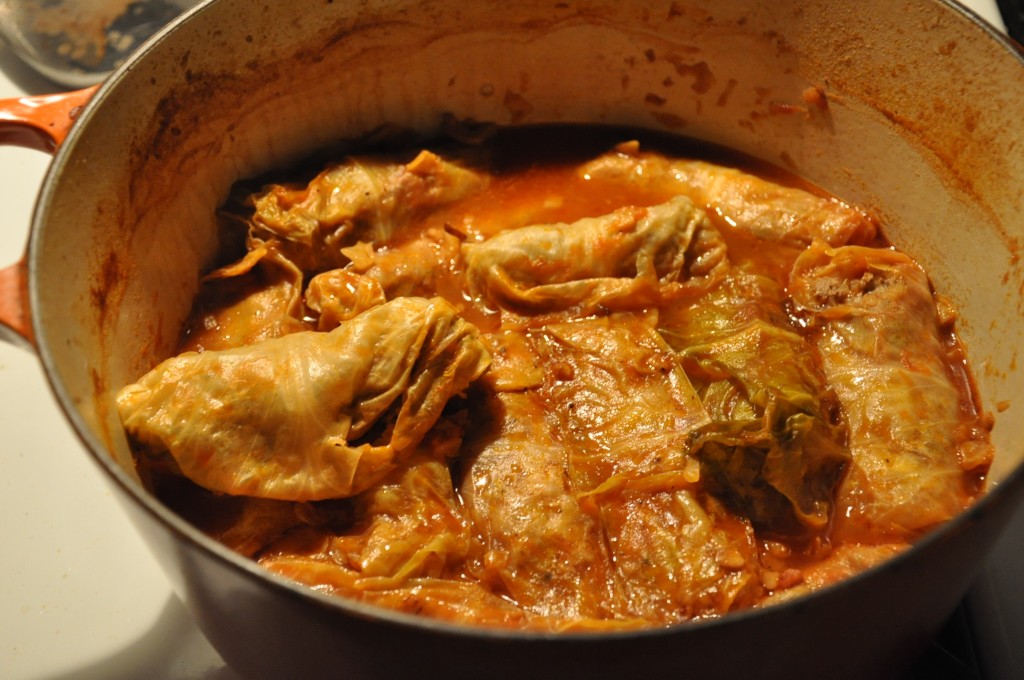
The sarmale after cooking in the oven for about an hour at about 350?.

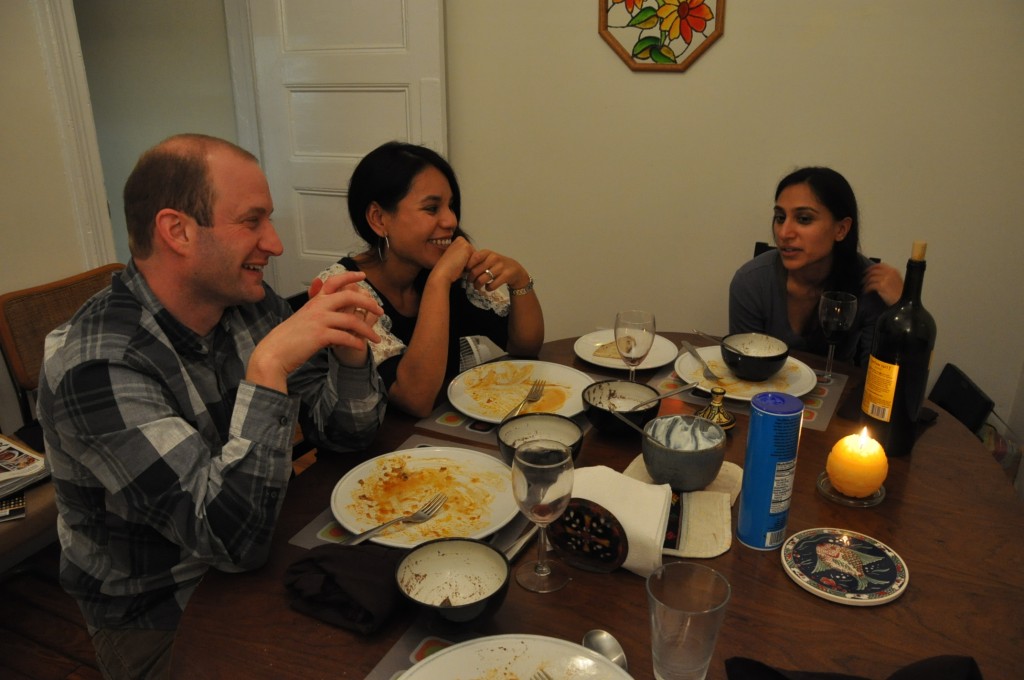
We cooked for our friends Ben and Maria visiting from out of town. Ben, who's Jewish said the sarmale reminde him of food his mom cooks. Mission accomplished. I always knew I'd make a great Jewish mother.

Share